Updated: 29 October 2025 • 6 minutes Read
If you’ve wanted to design stunning social media posts, marketing materials, or website graphics but didn’t know where to start, Canva is your best friend. It’s easy to use, packed with features, and doesn’t require design experience.
But here’s the secret: even though Canva is beginner-friendly, knowing how to edit and enhance your designs properly can take your visuals from “okay” to “wow.”
In this guide, you’ll discover 10 Canva editing tips to help you create professional-quality designs faster and with more confidence — perfect for Filipino small business owners, content creators, and freelancers.
Start with the Right Template
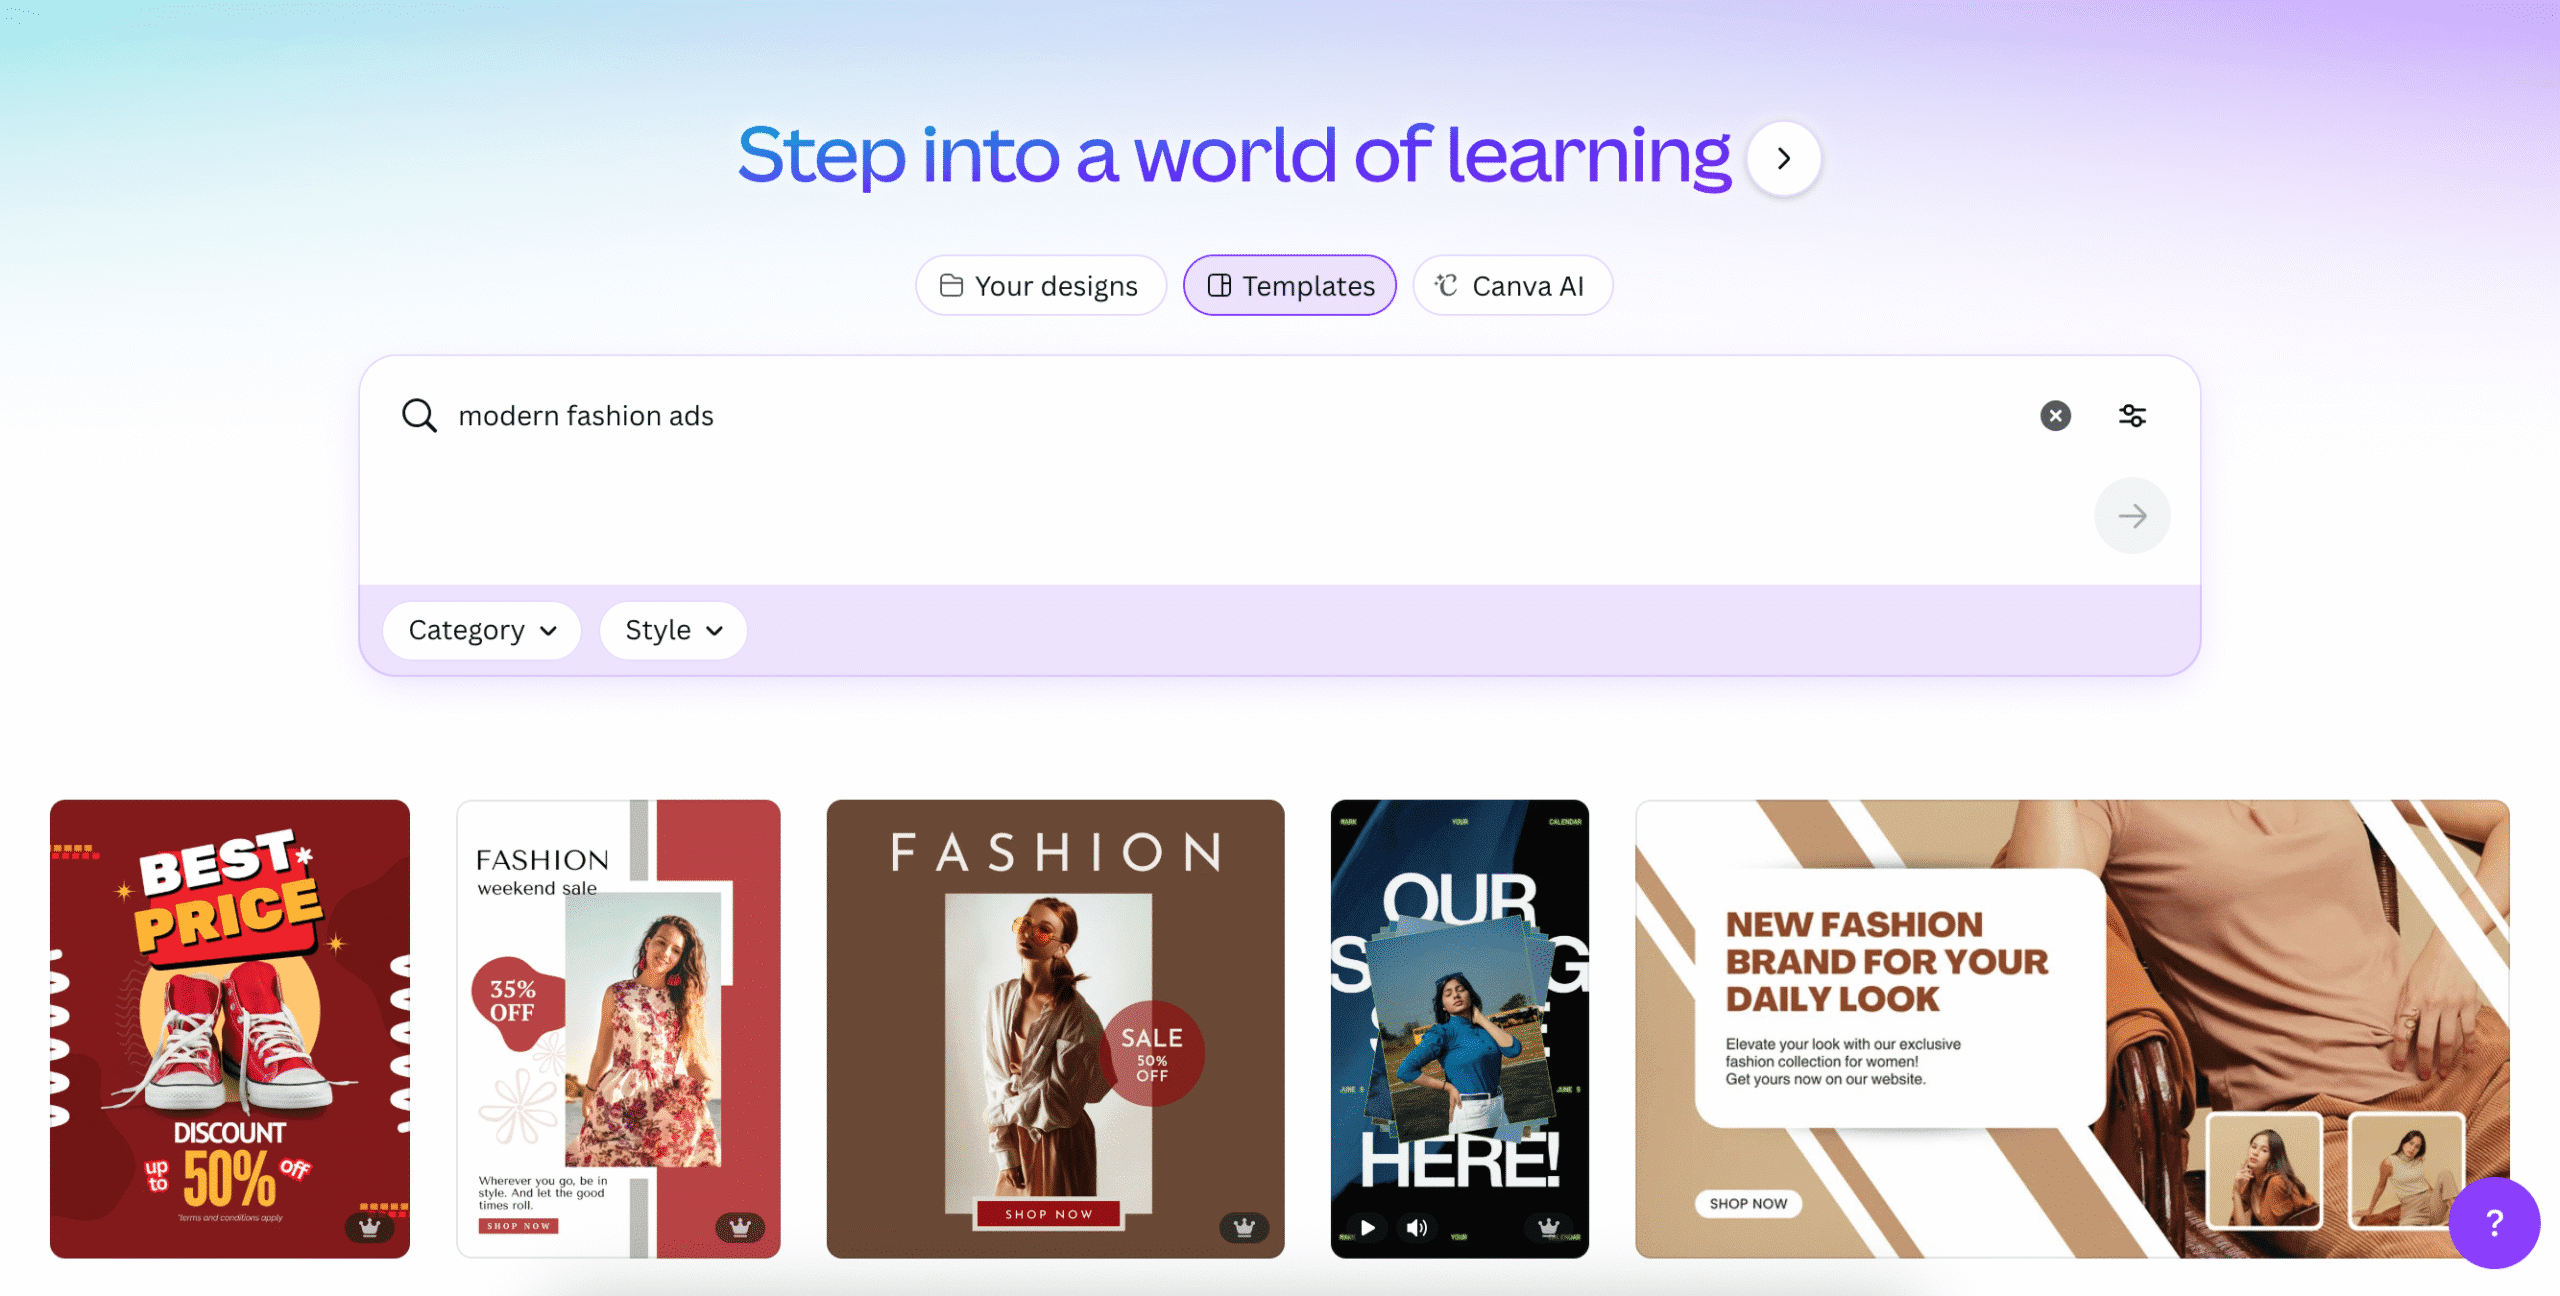
Canva offers thousands of templates for almost any purpose, from Instagram stories to pitch decks. But here’s the key: don’t just pick the first one that looks good!
Instead, search for templates that match your content type and target audience. For example, if you’re creating an ad for a fashion brand, use keywords like “modern fashion ad” or “minimalist lookbook.”
Once you find a template you love, customise it to match your brand colours, fonts, and tone.
 Use the Brand Kit for Consistency
If you often create multiple designs (social posts, emails, banners), you’ll want them to look cohesive. Canva’s Brand Kit feature lets you store your brand colours, fonts, and logos so you can apply them automatically.
This not only saves time but also ensures your brand looks consistent across all your platforms — perfect for Filipino entrepreneurs, marketers, and content creators.
Even if you’re not a business, use the Brand Kit to build your personal aesthetic or theme.
Master Alignment and Spacing
Ever wondered why some designs just look better? It’s usually because of alignment. Canva’s built-in grid and ruler guides help you align elements perfectly.
Turn on File → Settings → Show rulers and guides to make your design look neat and balanced. Use “Tidy Up” to evenly space elements automatically — perfect for collages, infographics, or quote layouts.
Try Layering Like a Pro
One of the best Canva editing secrets is layering — stacking elements on top of each other to create depth. You can send objects forward or backwards using the Position tool.
Layer shapes, shadows, and images to give your design a 3D look. This technique is perfect for creating eye-catching thumbnails or promotional banners.
Enhance Photos with the Adjust Panel
Canva’s built-in photo editor is surprisingly powerful.
Click on an image and head to Edit Photo → Adjust. Here, you can fine-tune brightness, contrast, saturation, and even apply filters.
For a professional touch:
- Increase contrast slightly for clarity.
- Reduce brightness for richer colours.
- Try blur for backgrounds to make text pop.
Use Canva’s Magic Edit to replace or enhance parts of an image with AI.
Use Frames and Grids for Clean Layouts
If your design feels messy, frames and grids are your best friends. They help you organise photos and graphics in a clean, visually appealing layout.
Simply search “frame” or “grid” in Canva’s elements tab and drag them onto your canvas. Then, drop your photos inside — they’ll automatically resize and crop perfectly.
Play with Transparency and Overlays
Want a sleek, modern look? Adjust the transparency of shapes or images to create layered backgrounds and visual depth.
For example, place a semi-transparent black rectangle behind your text to make it stand out on busy photos. It’s a subtle trick, but it instantly boosts readability and aesthetics.
Try Canva’s Magic Studio Tools
You’re missing out if you haven’t explored Canva’s new Magic Studio. These AI tools can save you hours:
- Magic Resize – Instantly resize your design for different platforms.
- Magic Write – Generate captions or copy ideas.
- Magic Eraser – Remove unwanted objects from photos.
These are perfect for creators who want to streamline their workflow without using multiple apps.
Use Shortcuts to Speed Up Your Editing
Once you start editing regularly, shortcuts can save a ton of time. Some must-know Canva shortcuts:
- Cmd/Ctrl + D: Duplicate an element
- Cmd/Ctrl + G: Group selected elements
- Cmd/Ctrl + ] or [: Move elements forward or backward
- Cmd/Ctrl + K: Add links
- R: Add a square/rectangle shape
- C: Add a circle shape
- L: Add a line
- T: Add a text box
Learn one or two shortcuts each time you design — soon you’ll edit like a pro.
Export in the Right Format
When you’re done, make sure to download your design in the right format for its purpose:
- PNG: For high-quality images (especially with transparency).
- JPG: For smaller file sizes and quick uploads.
- PDF: For print or professional documents.
- MP4/GIF: For animated designs or short videos.
Don’t forget to name your files with keywords (e.g. canva-social-media-template.png) — it helps with SEO if you upload them online.
Design isn’t just about following rules — it’s about expressing your creativity. Canva gives you the freedom to experiment, mix different styles, and discover what truly connects with your brand or audience.
The more you explore Canva’s editing tools, the better your designs will become. Don’t be afraid to try new ideas — remember, every expert designer started as a beginner.
Try These Canva Editing Tips Today
Whether you’re building your brand, growing your business, or just having fun, these Canva editing tips will help you stand out in the crowd.
Topics: Reviews
Don’t forget to share this post!