Updated: 22 April 2024 • 4 minutes Read
How to Connect a Domain with Hostinger?
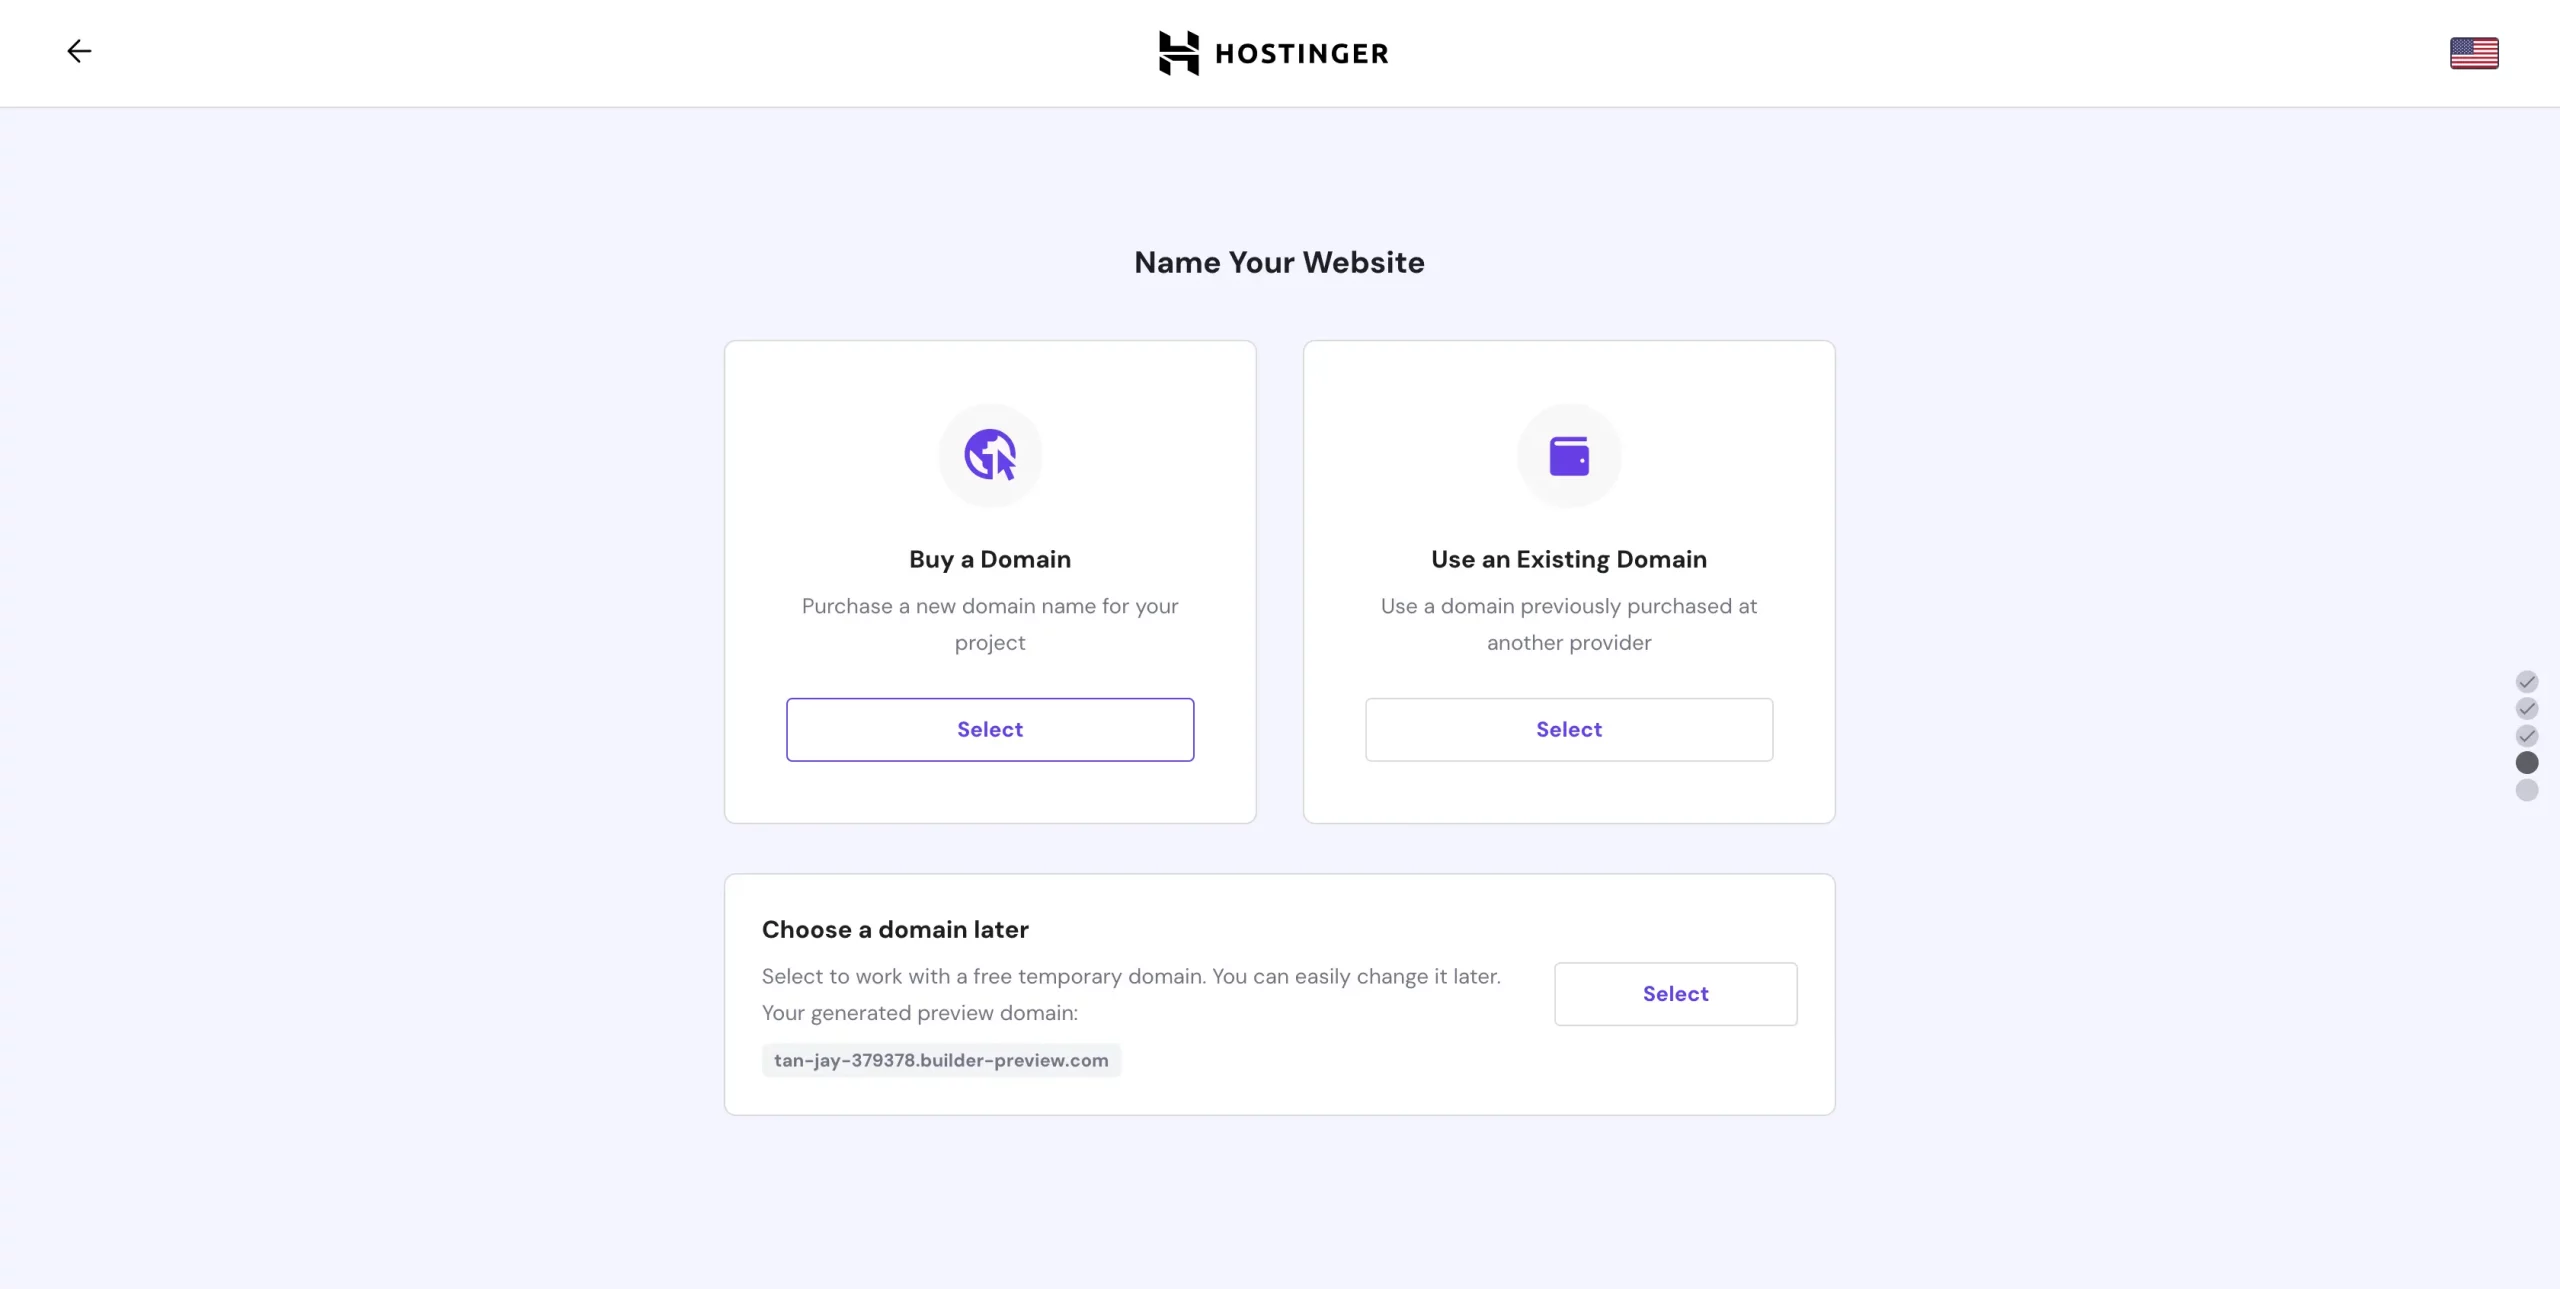
Once you have completed the purchase of your hosting from Hostinger, the next step will lead you to a page where you will have three options to choose from:
- Buy a new domain.
- Use an existing domain.
- Choose a domain later, which means you can use a temporary free preview domain and connect your custom domain later.
If you have yet to purchase a hosting with Hostinger, you may refer to the guide here.
-
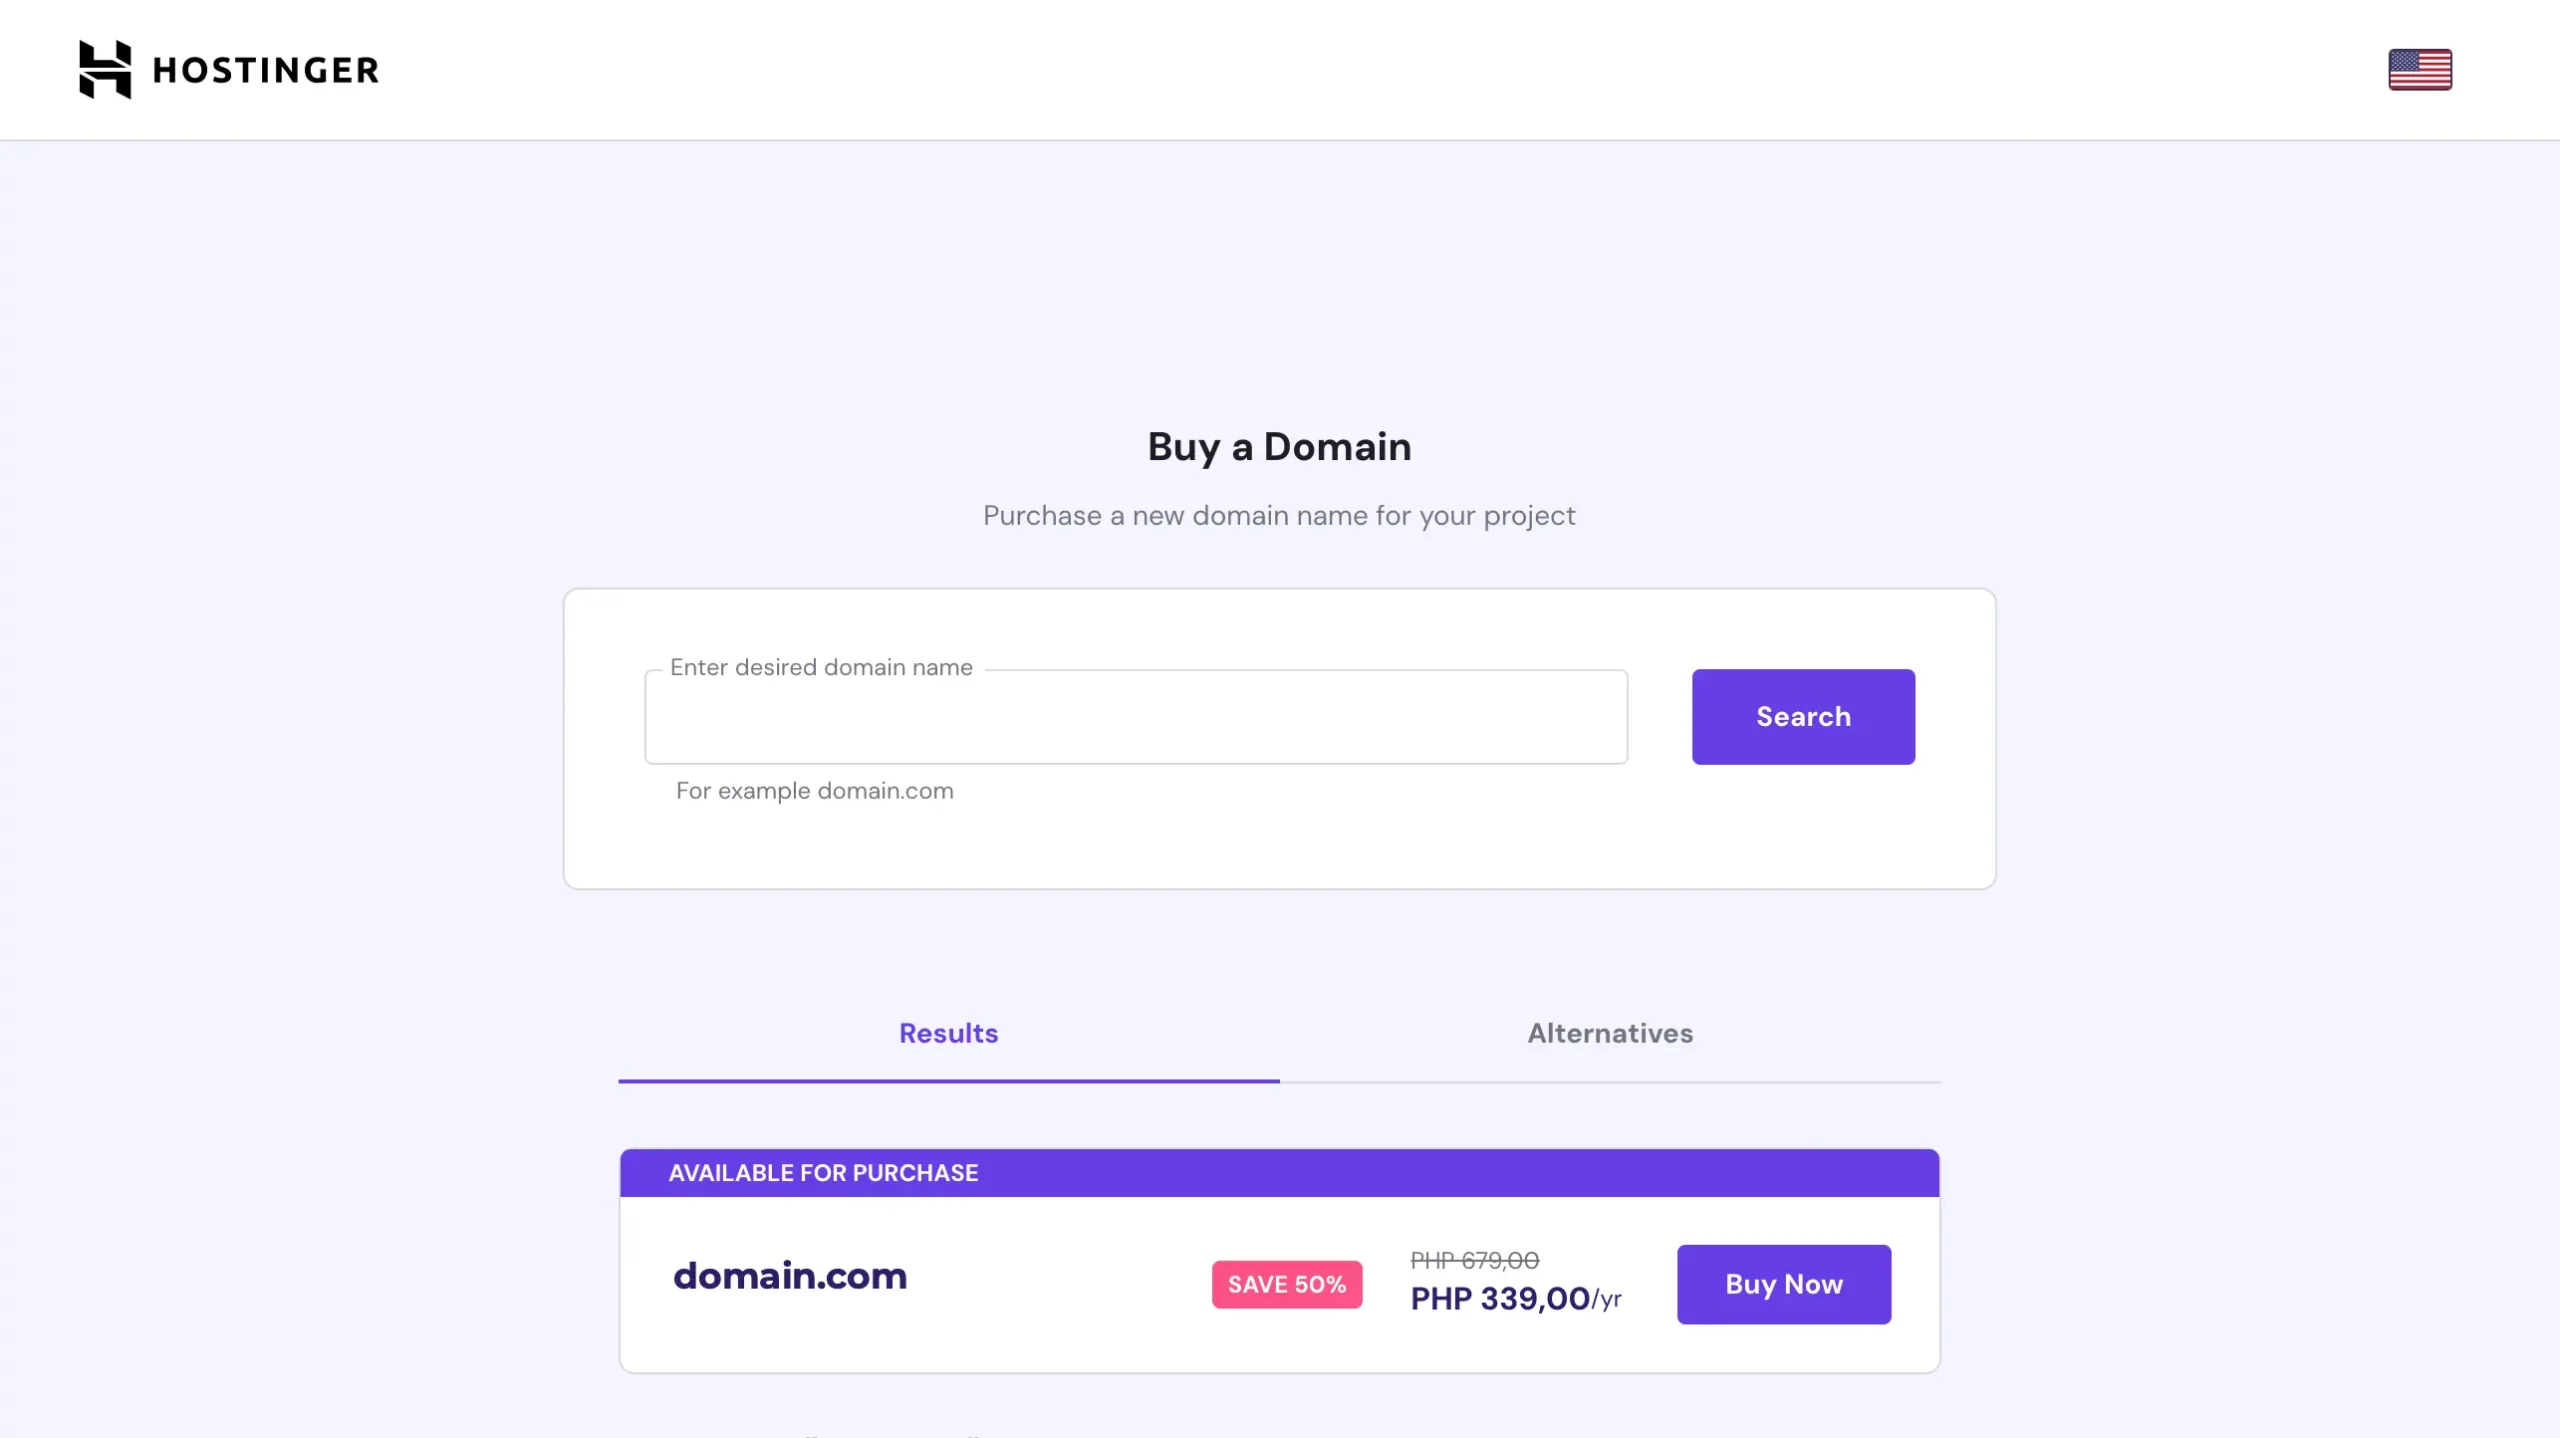
Buy a Domain
If you don’t have a domain yet, you can purchase one and search for your desired domain name.
 Select a billing period and complete the checkout process by clicking on the Complete Payment.Complete domain registration by providing your contact details so Hostinger can reach you in case of any issues with your domain. Once done, click on finish registration.
 Select a billing period and complete the checkout process by clicking on the Complete Payment.
 Complete domain registration by providing your contact details so Hostinger can reach you in case of any issues with your domain. Once done, click on finish registration.
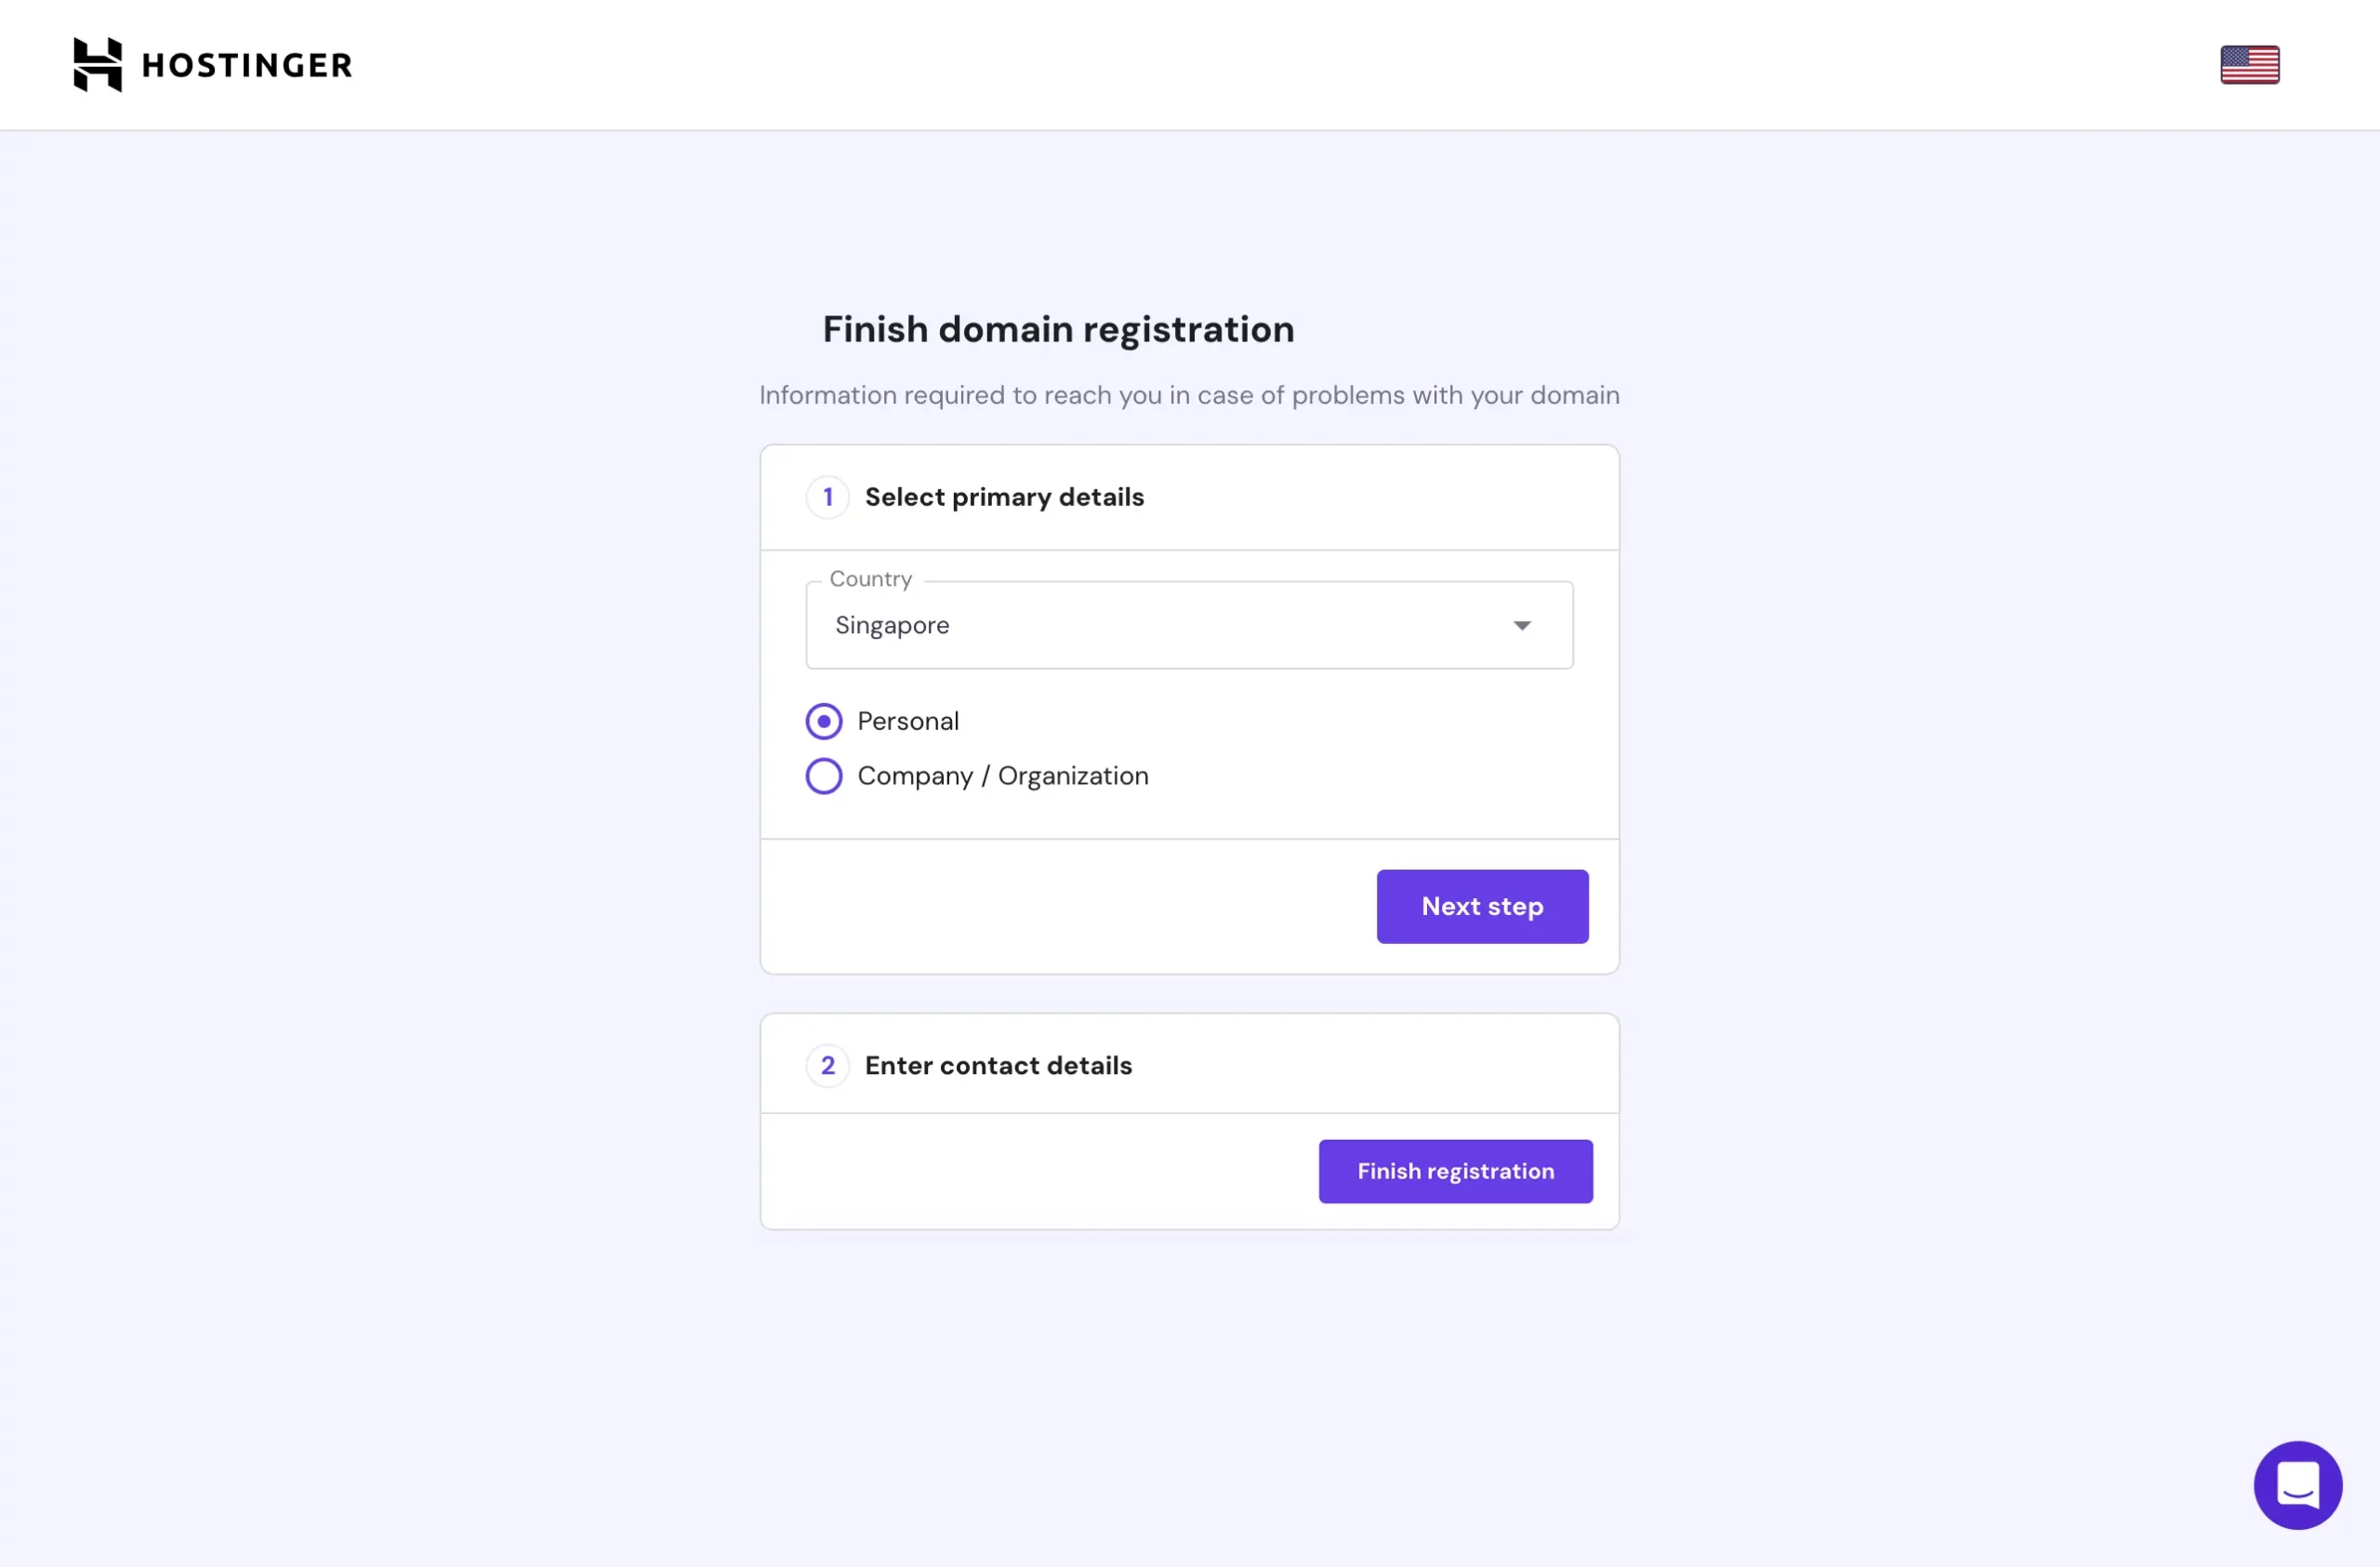
You have completed your registration!
Note: You will automatically connect your domain to your hosting account upon registration when you purchase both services together with Hostinger.
-
Use an Existing Domain
If you have registered your domain with a provider other than Hostinger, you can select the “Use an Existing Domain” option and enter your domain in the provided field. After that, you will be asked to point your domain to Hostinger servers.
Once you have pointed your domain to Hostinger, it may take up to 24 hours for DNS propagation to complete. After the propagation is complete, your website will be up and running.
-
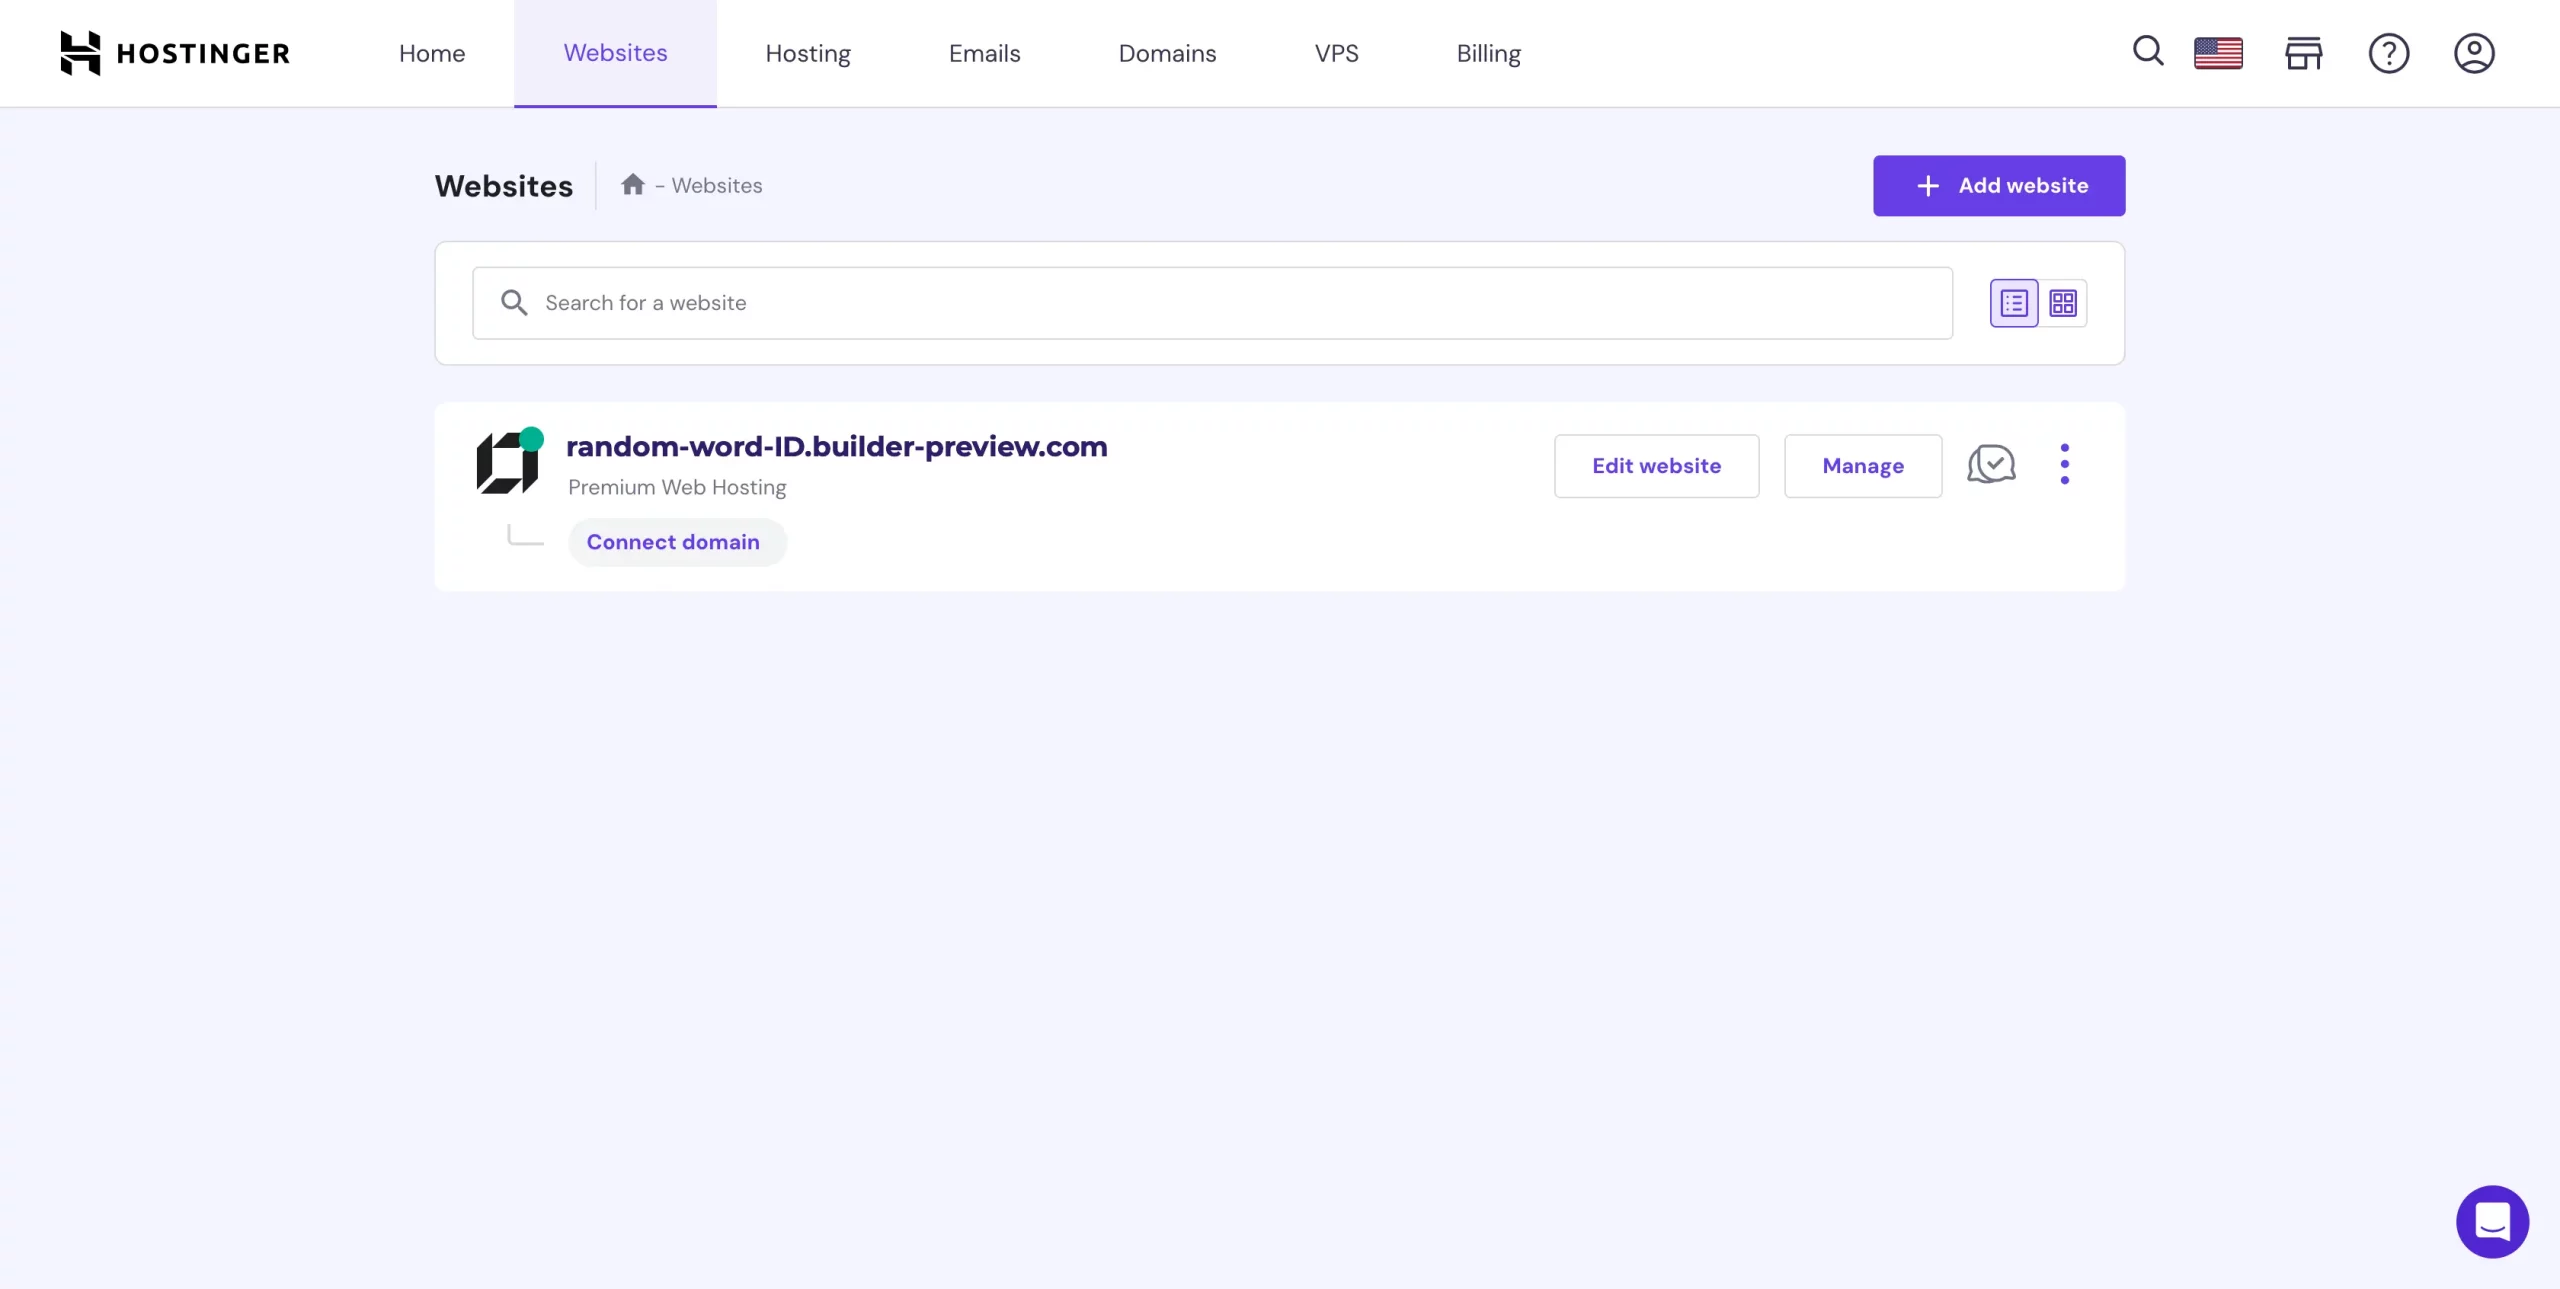
Connecting a Preview Domain
When you add a builder-based website to your hosting plan, a preview domain name is automatically generated for you. This domain name usually looks like this: random-word-ID.builder-preview.com.
If you decide to connect to a custom domain later on, you can follow these steps:
- First, click on the Hostinger logo located in the top left corner of your screen.
-
Next, click on the ‘Connect domain’ button and follow the instructions provided.
Finish Connecting your Domain
Once you have selected an option and completed the above steps, you can view your website by searching for your domain name in a browser.
Topics: Domain
Don’t forget to share this post!