Updated: 18 April 2024 • 4 minutes Read
-
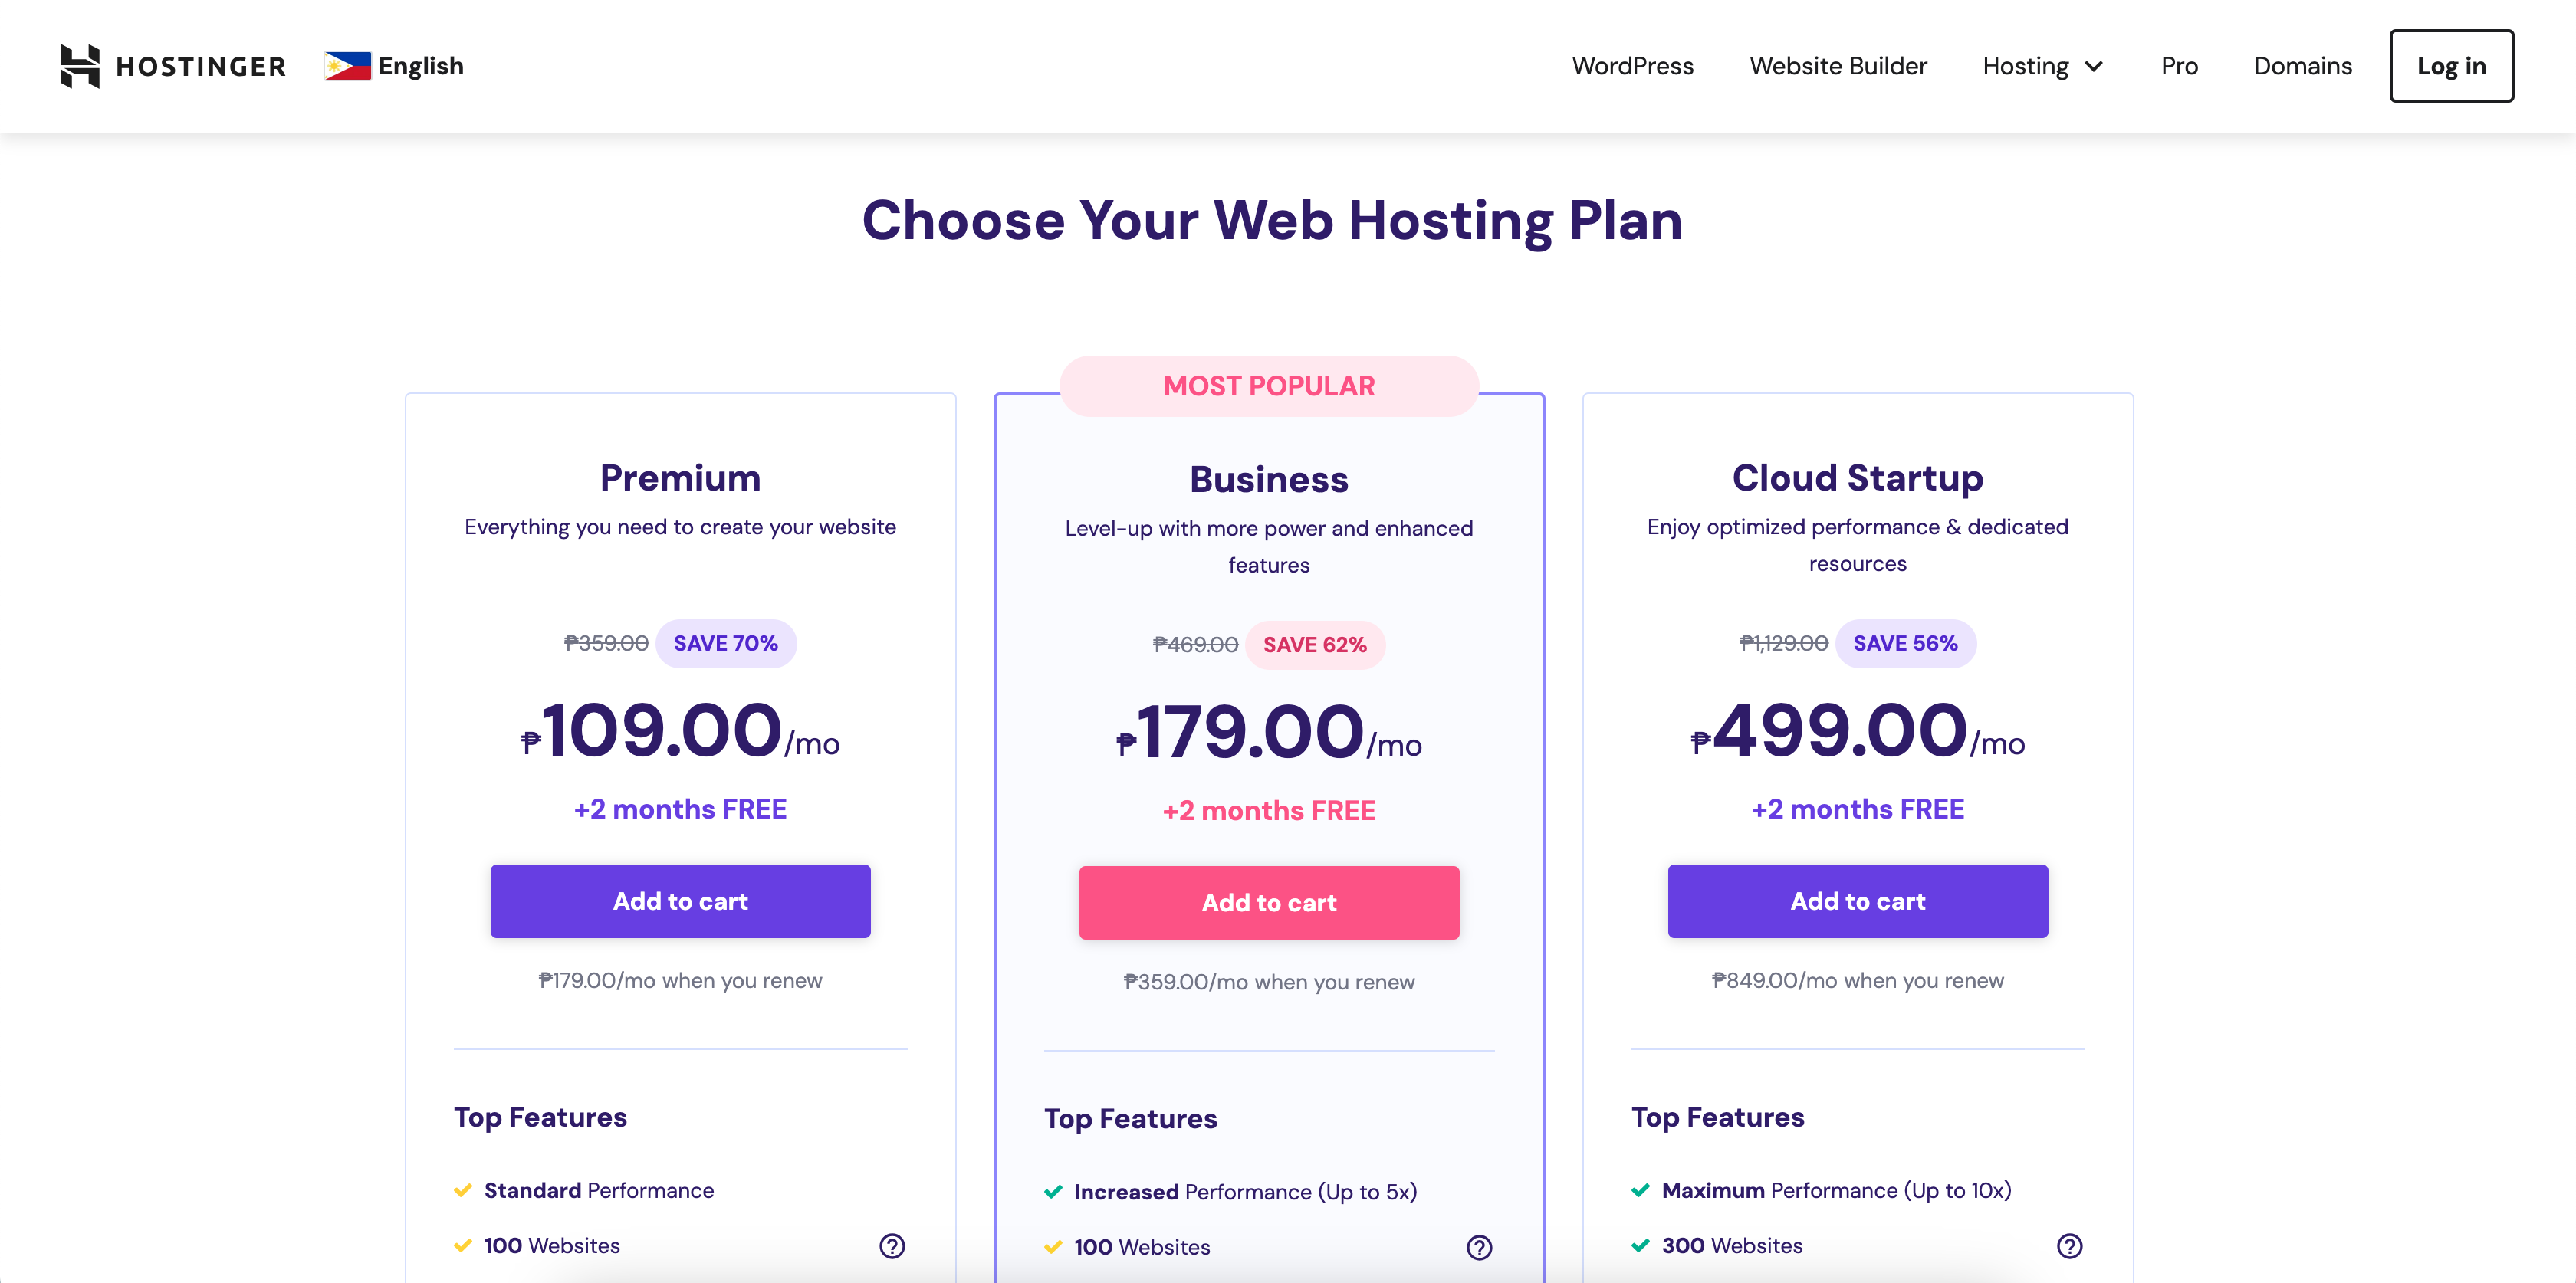
How to Purchase a Web Hosting Plan at Hostinger
Explore the available hosting options on Hostinger’s website. Once you find the hosting plan that meets your needs, click Add to Cart.
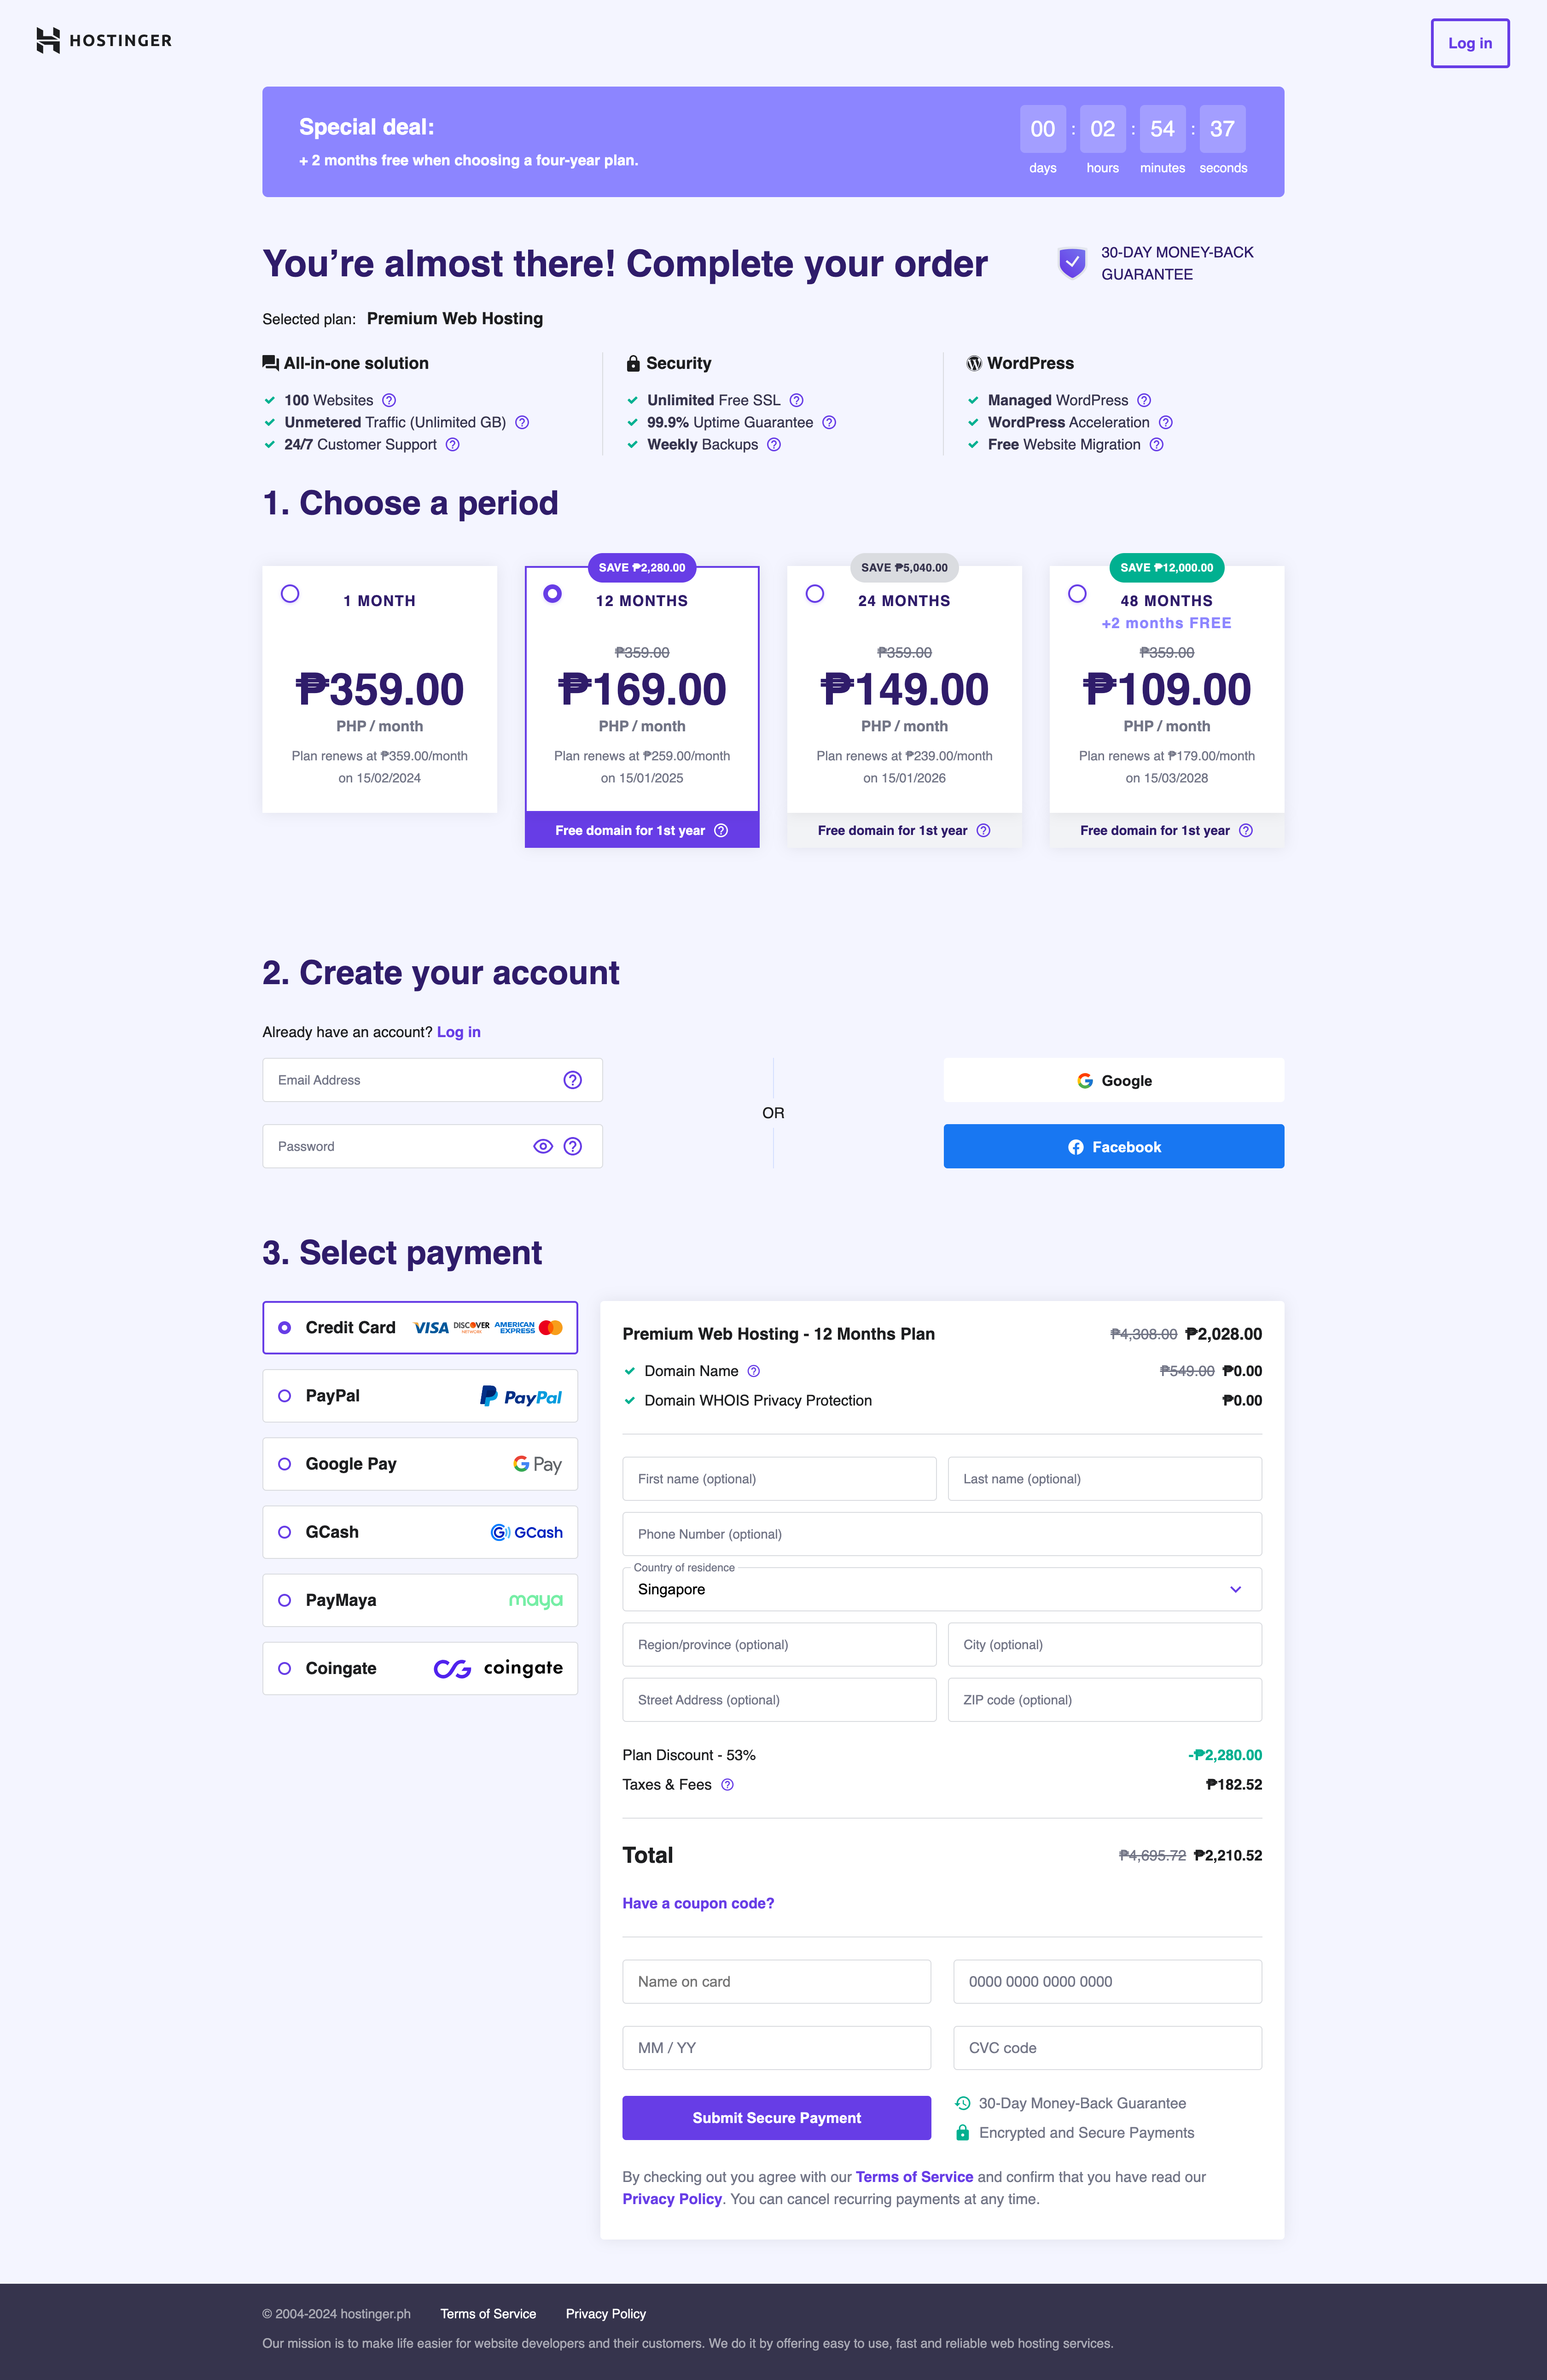
 Complete the requested information on the next page.
- Choose your preferred subscription duration
- Create your account
- Select a payment method and provide the necessary details.
 Once your payment is processed, you can set up your hosting plan per the guide below.
 Once your payment is processed, you can set up your hosting plan per the guide below.
-
How to Set Up a Web Hosting Plan at Hostinger
After purchasing a hosting plan at Hostinger, you can set it up with their onboarding process.
Step 1 – Personalise Your Experience
Click on Start Now to provide more information.
Here, you can indicate if you’re creating for yourself or for someone else or if you already have a website.Step 2 – Create or Migrate Your WebsiteNext, you choose the option to create or migrate a website.
If you want to create a new website, select the “Create a new website” option to begin the process. If you already have a website hosted elsewhere and want to move it over, choose “Migrate my website.”Create a New Website
Here, you will be asked to select a platform for creating your new website:
If you have experience with WordPress, then choose this option. Alternatively, if you want an easy-to-use solution that can deliver quick results, then choose the Hostinger Website Builder option.
Migrate My WebsiteIf you choose to migrate your website, you will be presented with two options:
Select “Upload website” to upload or “Transfer website” to migrate from another provider to Hostinger.
Step 3 – Name Your Website
It’s time to provide the address for your website. You have two options: either use a domain that you already own or select a new one.
To purchase a new domain name, click “Buy new domain” and follow the steps to connect to your hosting account.
If you already have a domain name, connect it to Hostinger nameservers from your current registrar.
Step 4 – Finish Setting UpAfter you have completed the above steps, your hosting plan will be active! And you can start creating your website.
 Here, you can indicate if you’re creating for yourself or for someone else or if you already have a website.
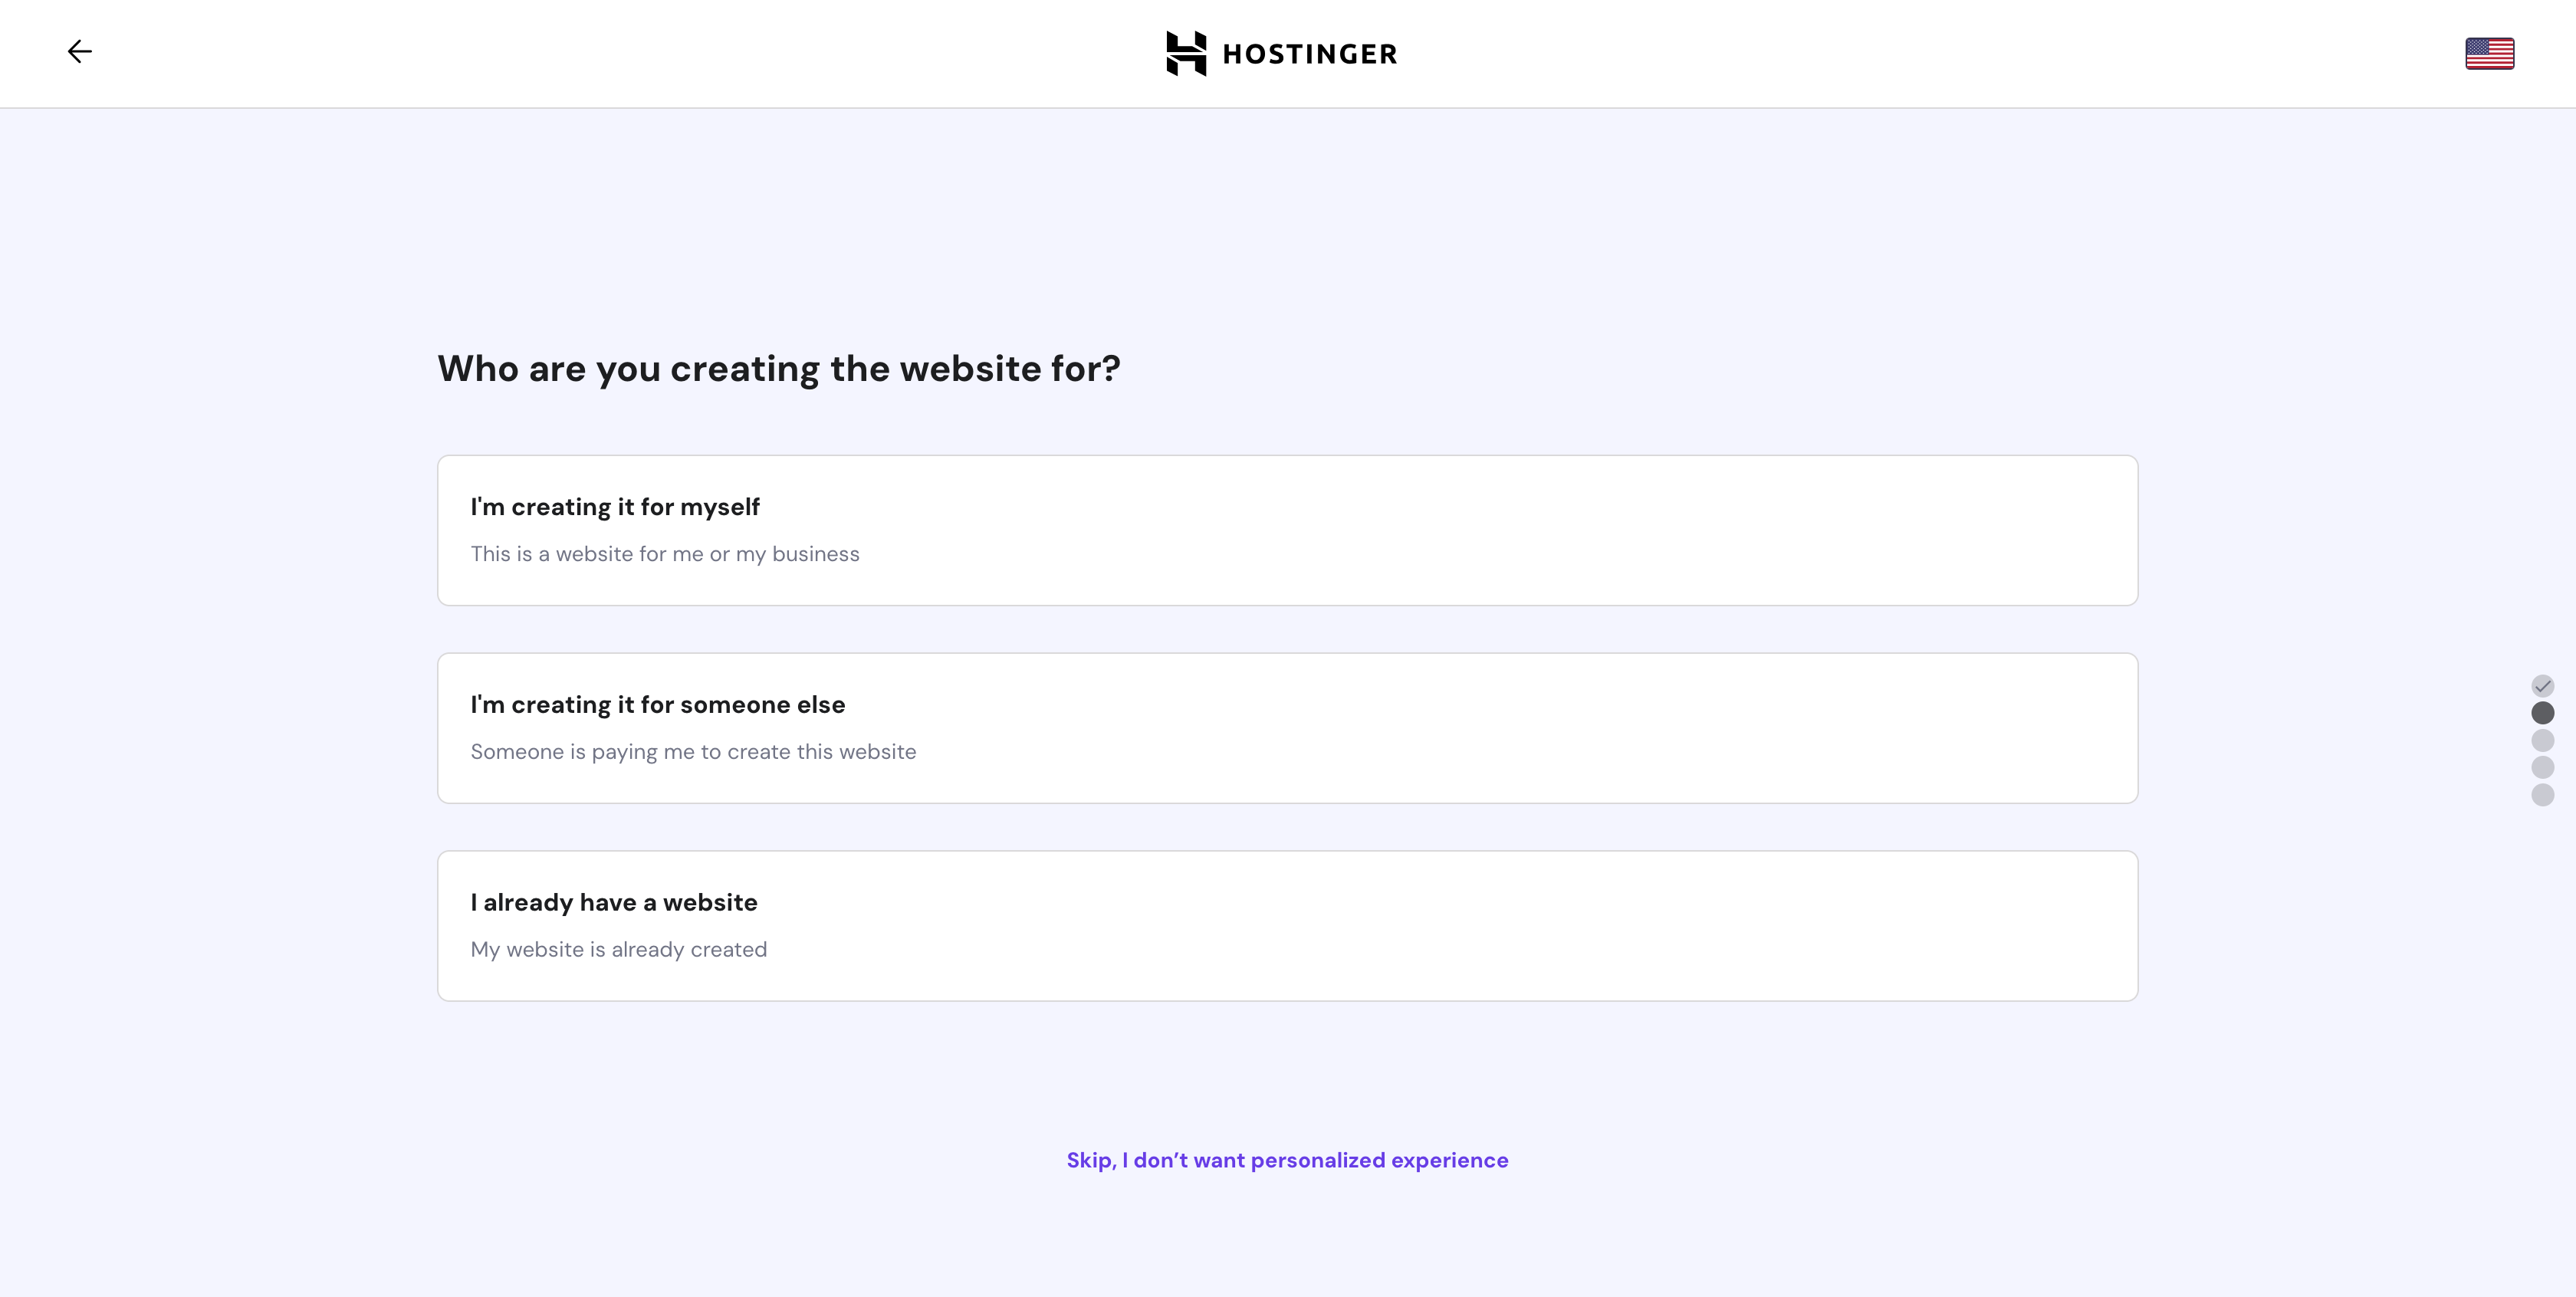 Step 2 – Create or Migrate Your Website
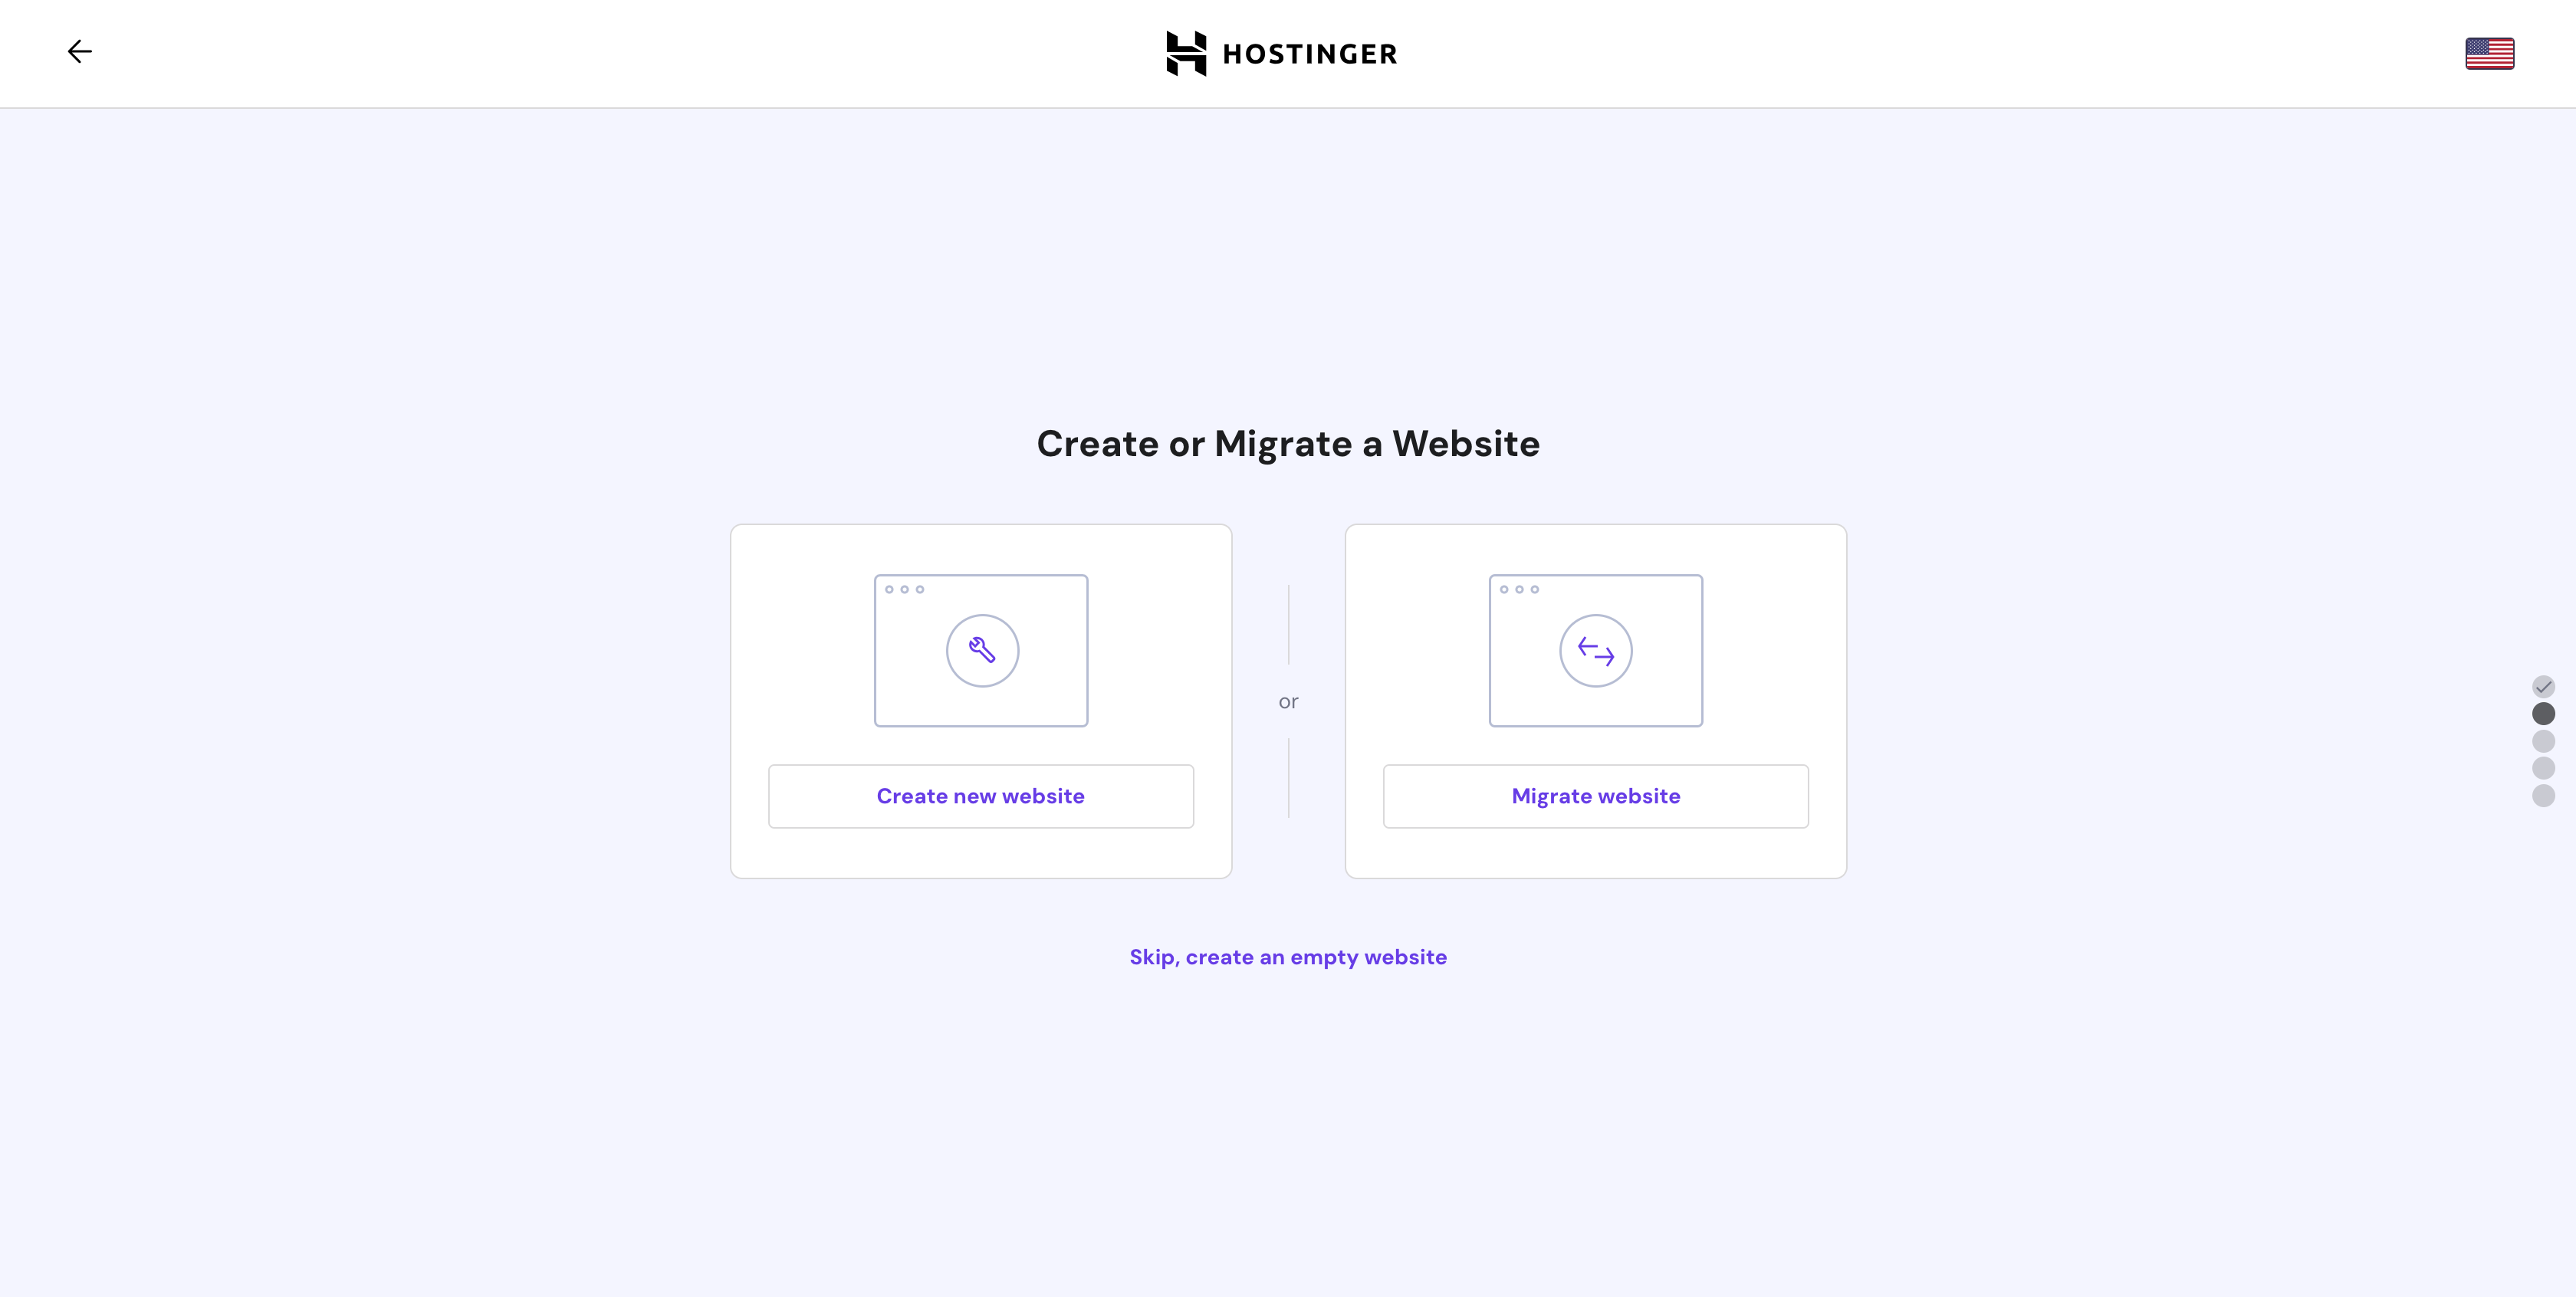 If you want to create a new website, select the “Create a new website” option to begin the process. If you already have a website hosted elsewhere and want to move it over, choose “Migrate my website.”
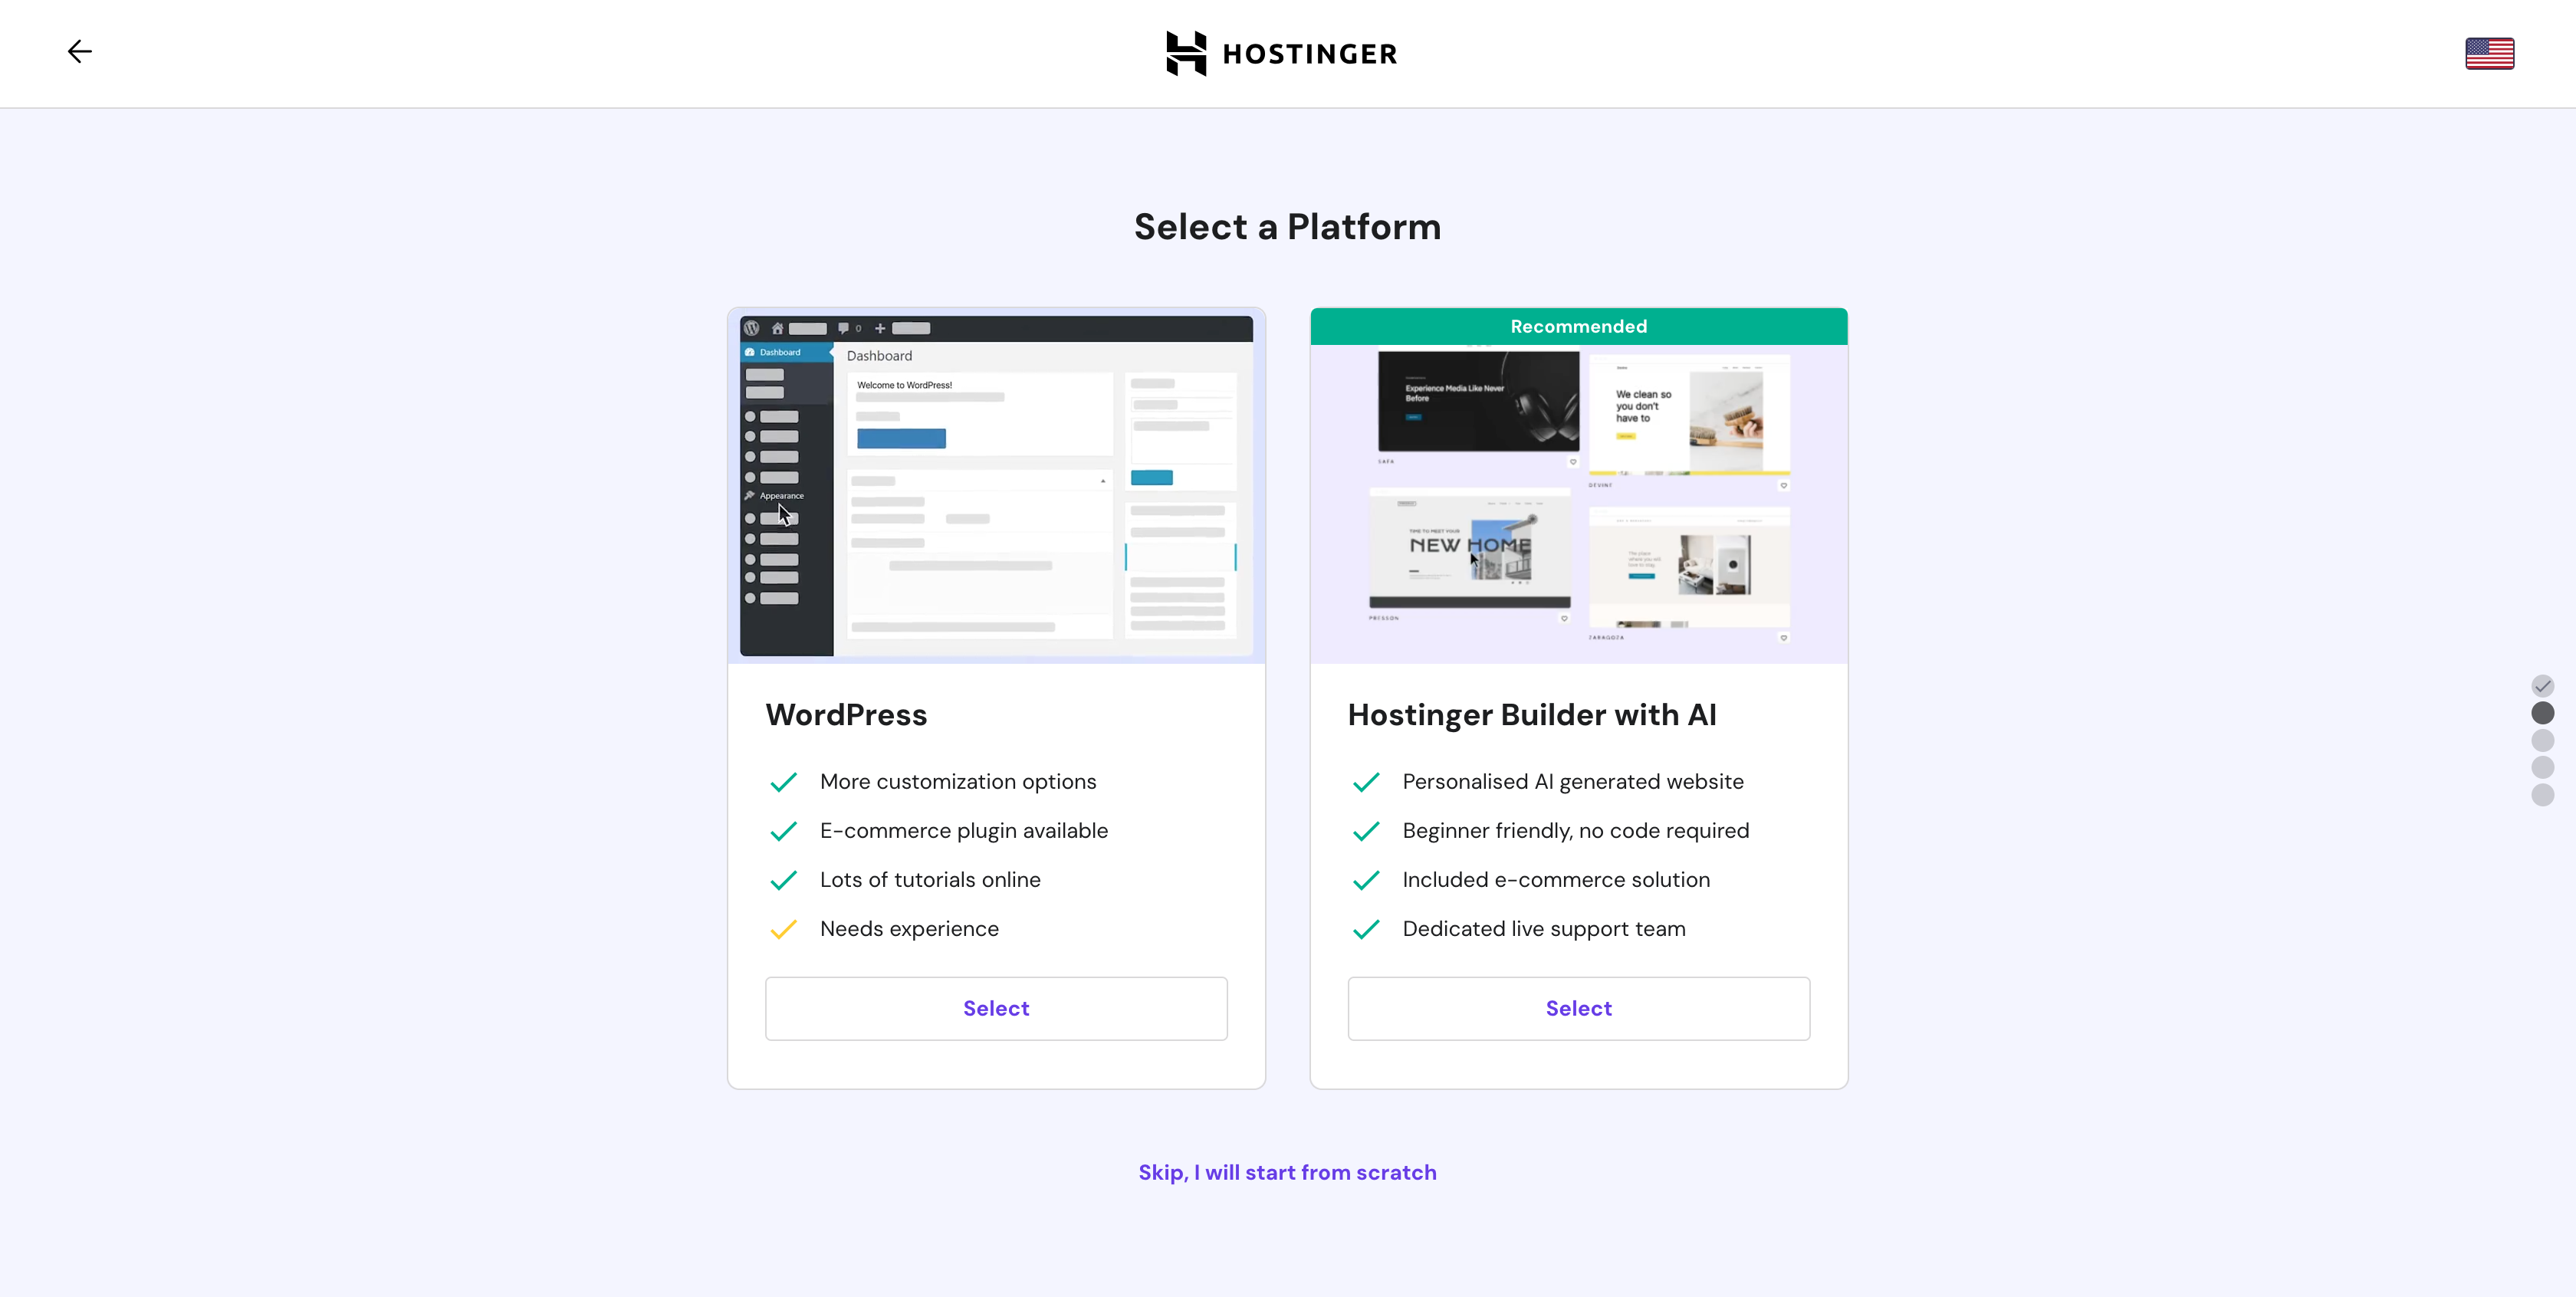 Migrate My Website
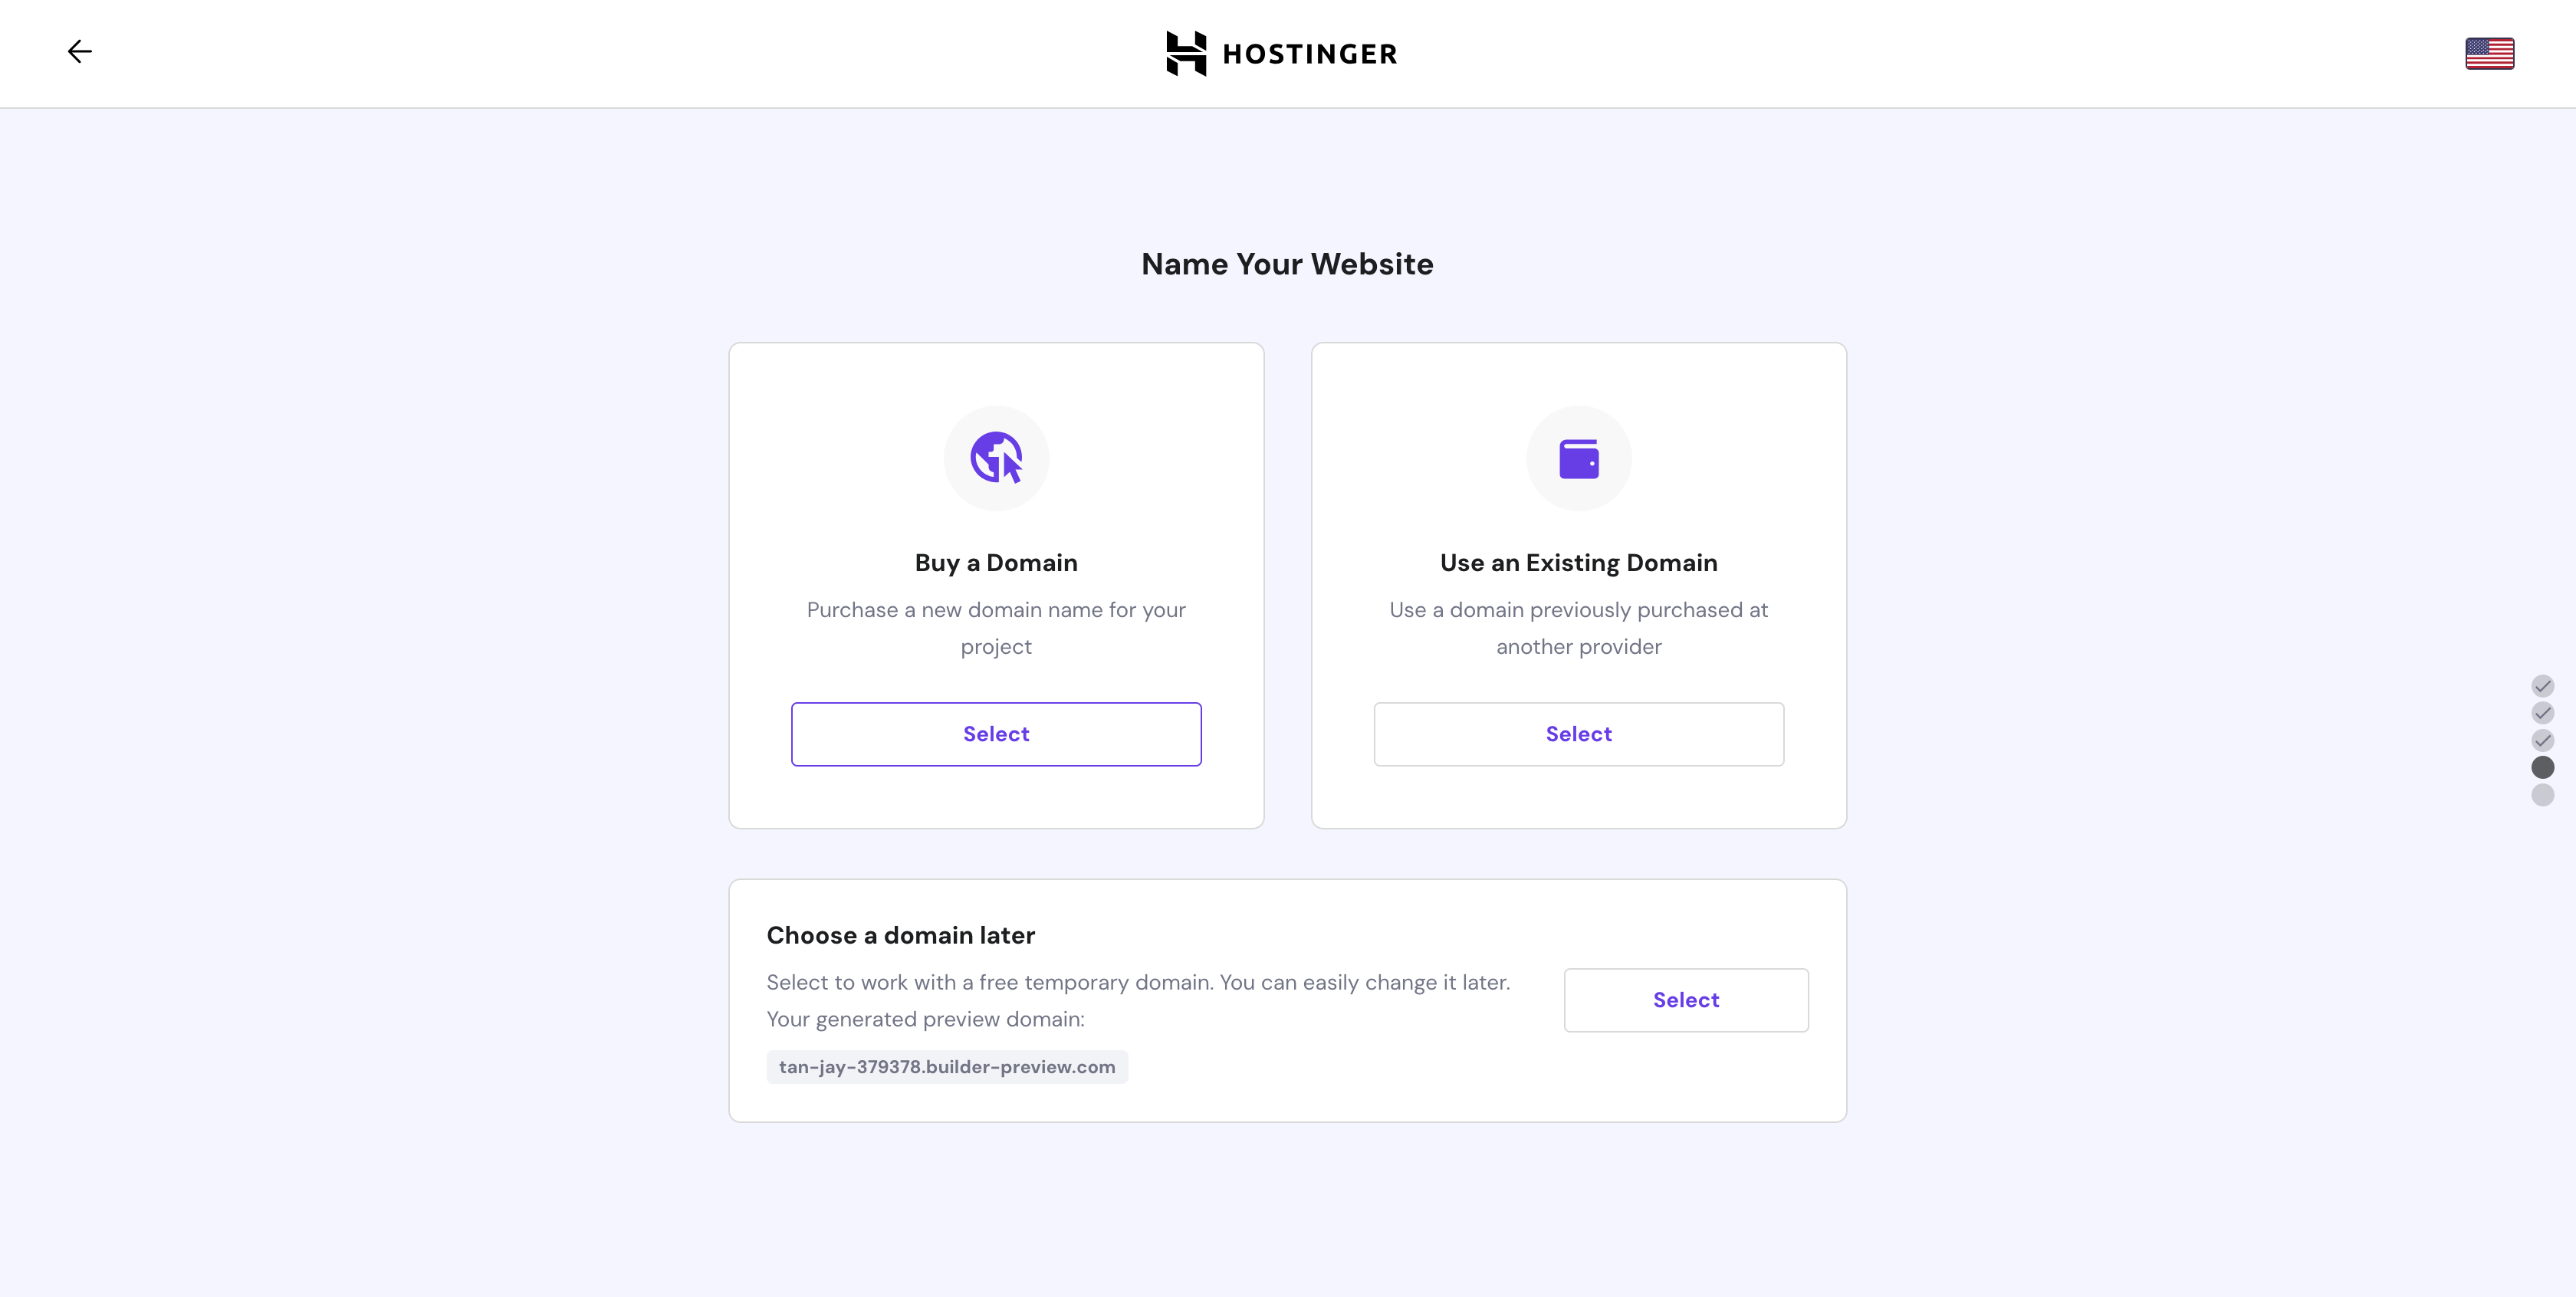 Step 4 – Finish Setting Up
Topics: Hosting
Don’t forget to share this post!